You jiggle the handle. The toilet stops running — for now. An hour later, it is hissing again. A running toilet is almost always a simple problem inside the tank: a flapper that no longer seals, a fill valve that will not shut off, or a chain with the wrong amount of slack. All three are cheap to fix and require no plumbing experience, just a willingness to look inside the tank.
This guide shows you how to diagnose which part is failing, how to replace each one, and how to adjust the water level correctly. You will also learn the one test that tells you in 30 seconds whether the flapper is the problem — no tools required.
How a toilet tank works (the 60-second version)
Understanding the mechanism makes the repair obvious. The tank holds clean water. When you flush, the handle lifts a flapper (a rubber disc at the tank’s bottom), letting water rush into the bowl. As the tank empties, the flapper falls back and seals the opening. Meanwhile, the fill valve (the tall assembly on the left) refills the tank, and a float rises with the water level until it shuts the fill valve off at the correct height. A thin refill tube sends a trickle into the overflow pipe to refill the bowl. A running toilet means one of these steps is failing to complete its cycle.
The 30-second diagnosis: the food coloring test
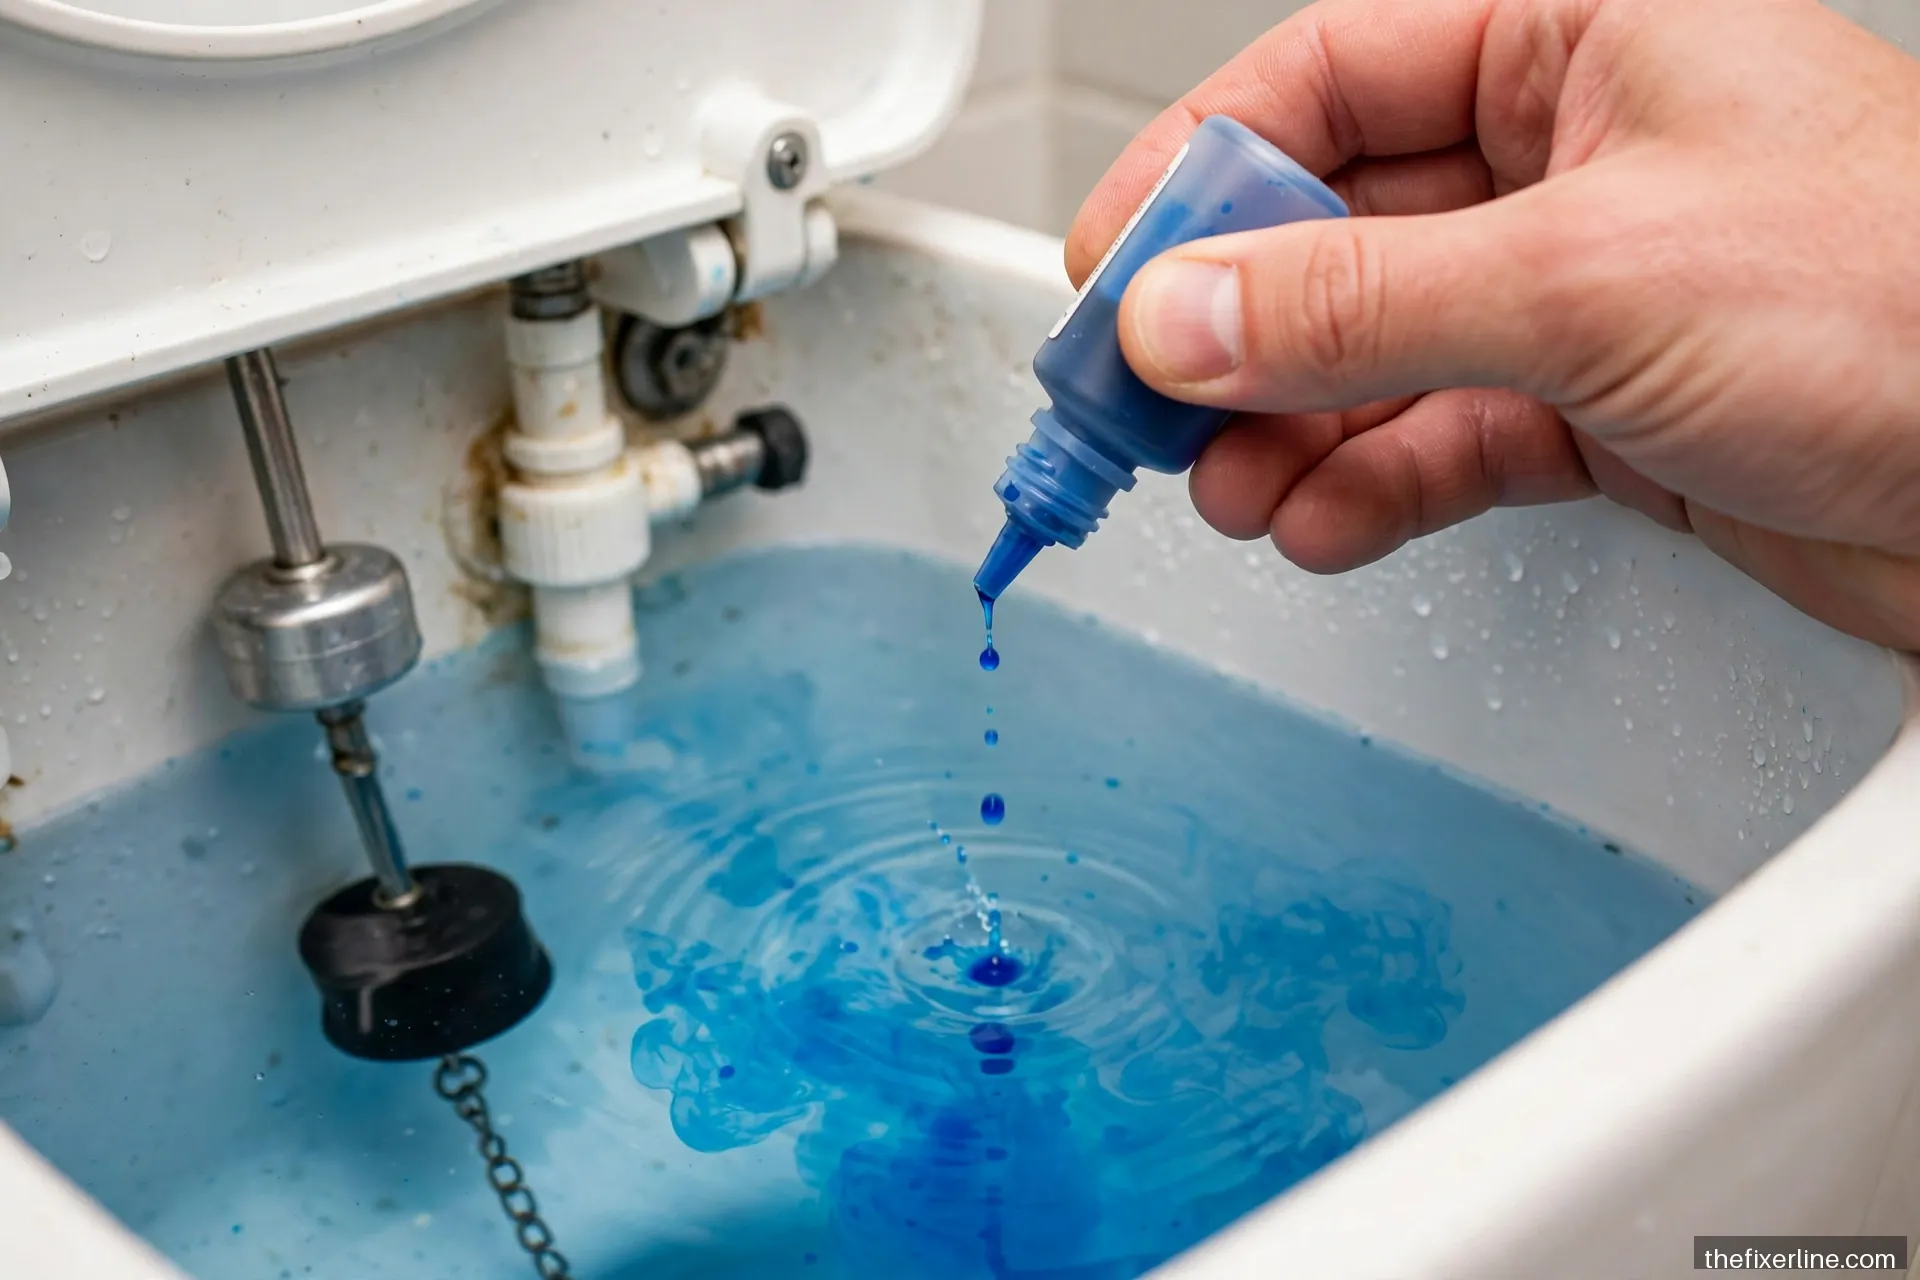
Before you touch anything, do this test. It tells you whether the flapper is leaking — the most common cause — with zero disassembly:
- Remove the tank lid and set it somewhere safe (it is heavy and breaks easily).
- Add a few drops of food coloring (or a dark drink mix) to the tank water. Do not flush.
- Wait 15–20 minutes without using the toilet.
- Check the bowl. If colored water has seeped into the bowl, the flapper is leaking and needs replacement.
If the bowl water stays clear but the toilet still runs, the problem is the fill valve or the water level — water is likely flowing into the overflow tube continuously. Look inside: if water is spilling into the overflow pipe (the open tube in the middle), the fill valve is not shutting off.
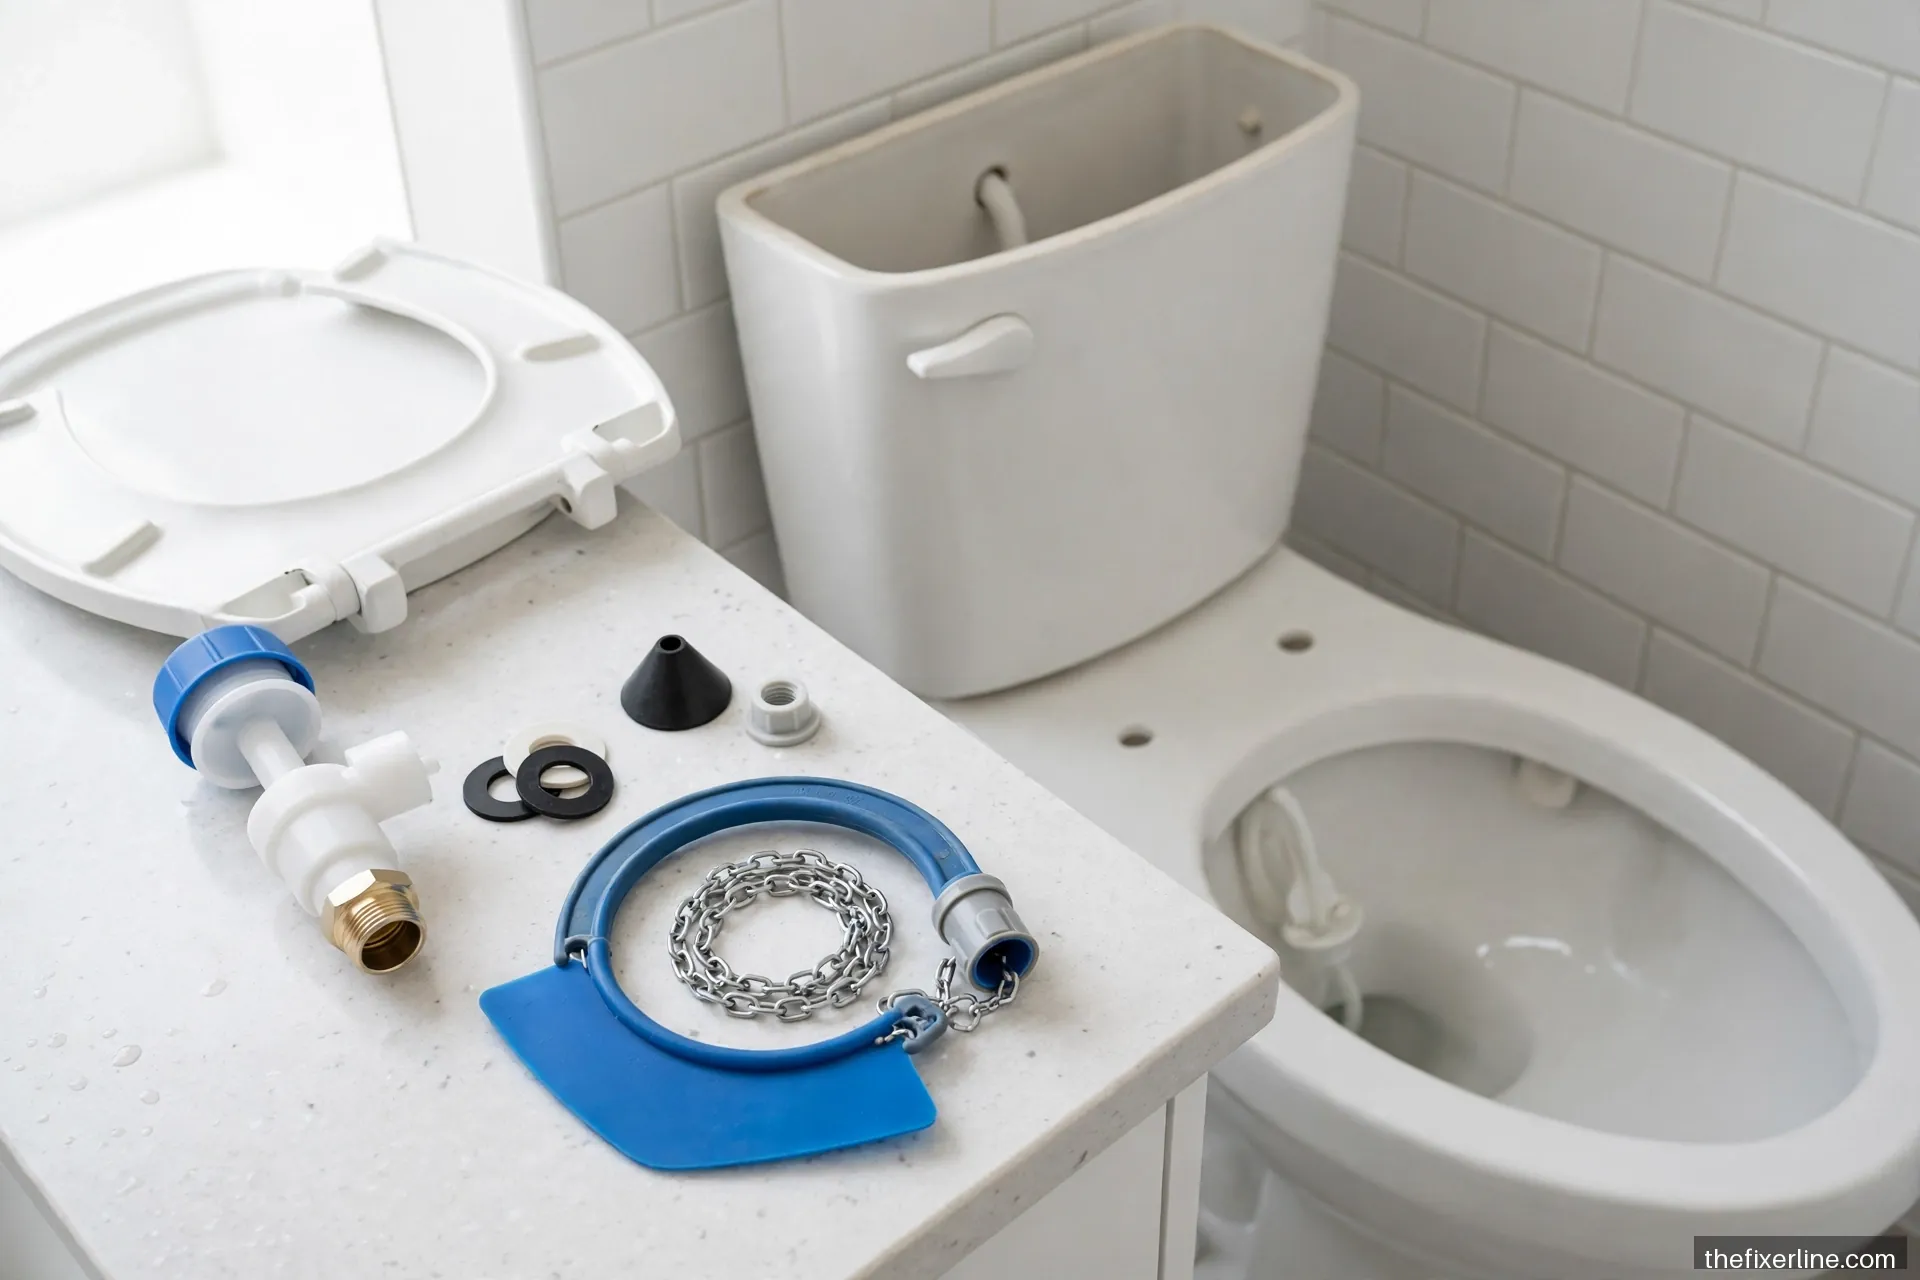
Tools and parts
- Universal flapper — most modern toilets use a standard 2-inch flapper; measure yours or bring the old one to match. Flappers are inexpensive.
- Universal fill valve (if needed) — adjustable-height models fit nearly all tanks.
- Sponge or cup for bailing residual tank water, plus old towels.
- Adjustable wrench or pliers (for fill valve replacement only).
- Scissors for trimming the flapper chain to length.
Shut off the toilet’s supply valve (the small valve on the wall or floor behind the toilet, turned clockwise) and flush to drain the tank before starting work. Keep a towel handy — the tank never drains completely, and you will be bailing the last inch or two.
Fix 1: Replace the flapper
The flapper is a rubber disc that deteriorates with age, chlorine, and hard water — typically lasting 3–5 years. Replacing it takes five minutes:
- Unhook the chain from the flush handle arm.
- Slide the flapper’s side tabs off the pegs on the overflow tube (or unclip it, depending on design).
- Wipe the flush valve seat (the rim the flapper sits on) clean with a cloth — mineral crust here prevents sealing.
- Install the new flapper: hook the tabs onto the pegs, connect the chain to the handle arm.
- Adjust the chain: it should have about half an inch of slack when the flapper is closed. Too tight and the flapper cannot seal; too loose and the chain tangles under the flapper. Most chains have a float or clip for fine adjustment; trim excess links if needed.
Turn the water back on, let the tank fill, and repeat the food coloring test to confirm the seal. As an illustrative example of cost, a universal flapper typically costs only a few dollars at a hardware store — prices vary, so check your local store.
Fix 2: Replace or adjust the fill valve
If water runs continuously into the overflow tube, the fill valve is the culprit. First try adjusting it: most modern fill valves have a float that slides on a rod or a screw on top. Lower the float slightly so the valve shuts off before water reaches the overflow tube’s rim. The correct water level is usually marked on the inside of the tank or on the overflow tube itself — typically about an inch below the top of the overflow.
If adjustment does not stop the flow, replace the valve:
- Shut off the supply valve and flush. Bail out remaining water with a sponge.
- Disconnect the supply line from the bottom of the fill valve (have a towel ready for drips).
- Unscrew the plastic lock nut under the tank holding the valve in place.
- Lift out the old valve. Set the new valve’s height to match (adjustable shank — measure against the old one).
- Insert the new valve, tighten the lock nut by hand plus a quarter turn (these are plastic — overtightening cracks them), reconnect the supply line, and clip the refill tube into the overflow pipe.
- Turn the water on slowly and check for leaks at every connection with a dry paper towel.
Fix 3: Chain and handle issues
Sometimes the “running” is just a chain problem. A chain that is too short holds the flapper slightly open; too long and it wedges underneath. A corroded handle arm that sticks can also hold the flapper up — work the handle and watch the mechanism move. If the arm is bent or the handle is loose, replacement handles are universal, inexpensive, and install with a single nut (note: the nut is reverse-threaded — turn clockwise to loosen).
Setting the correct water level
After any tank repair, verify the water level: it should sit at the marked line, about an inch below the overflow tube’s top. Too high and water wastes into the overflow; too low and flushes weaken. Adjust via the fill valve’s float. Then do a final check: flush three times in a row and confirm the tank refills and shuts off completely each time, with no hissing afterward.
When to call a licensed plumber
Tank repairs are firmly DIY-friendly, but call a pro if: the supply valve will not turn or leaks when touched; the tank itself is cracked; water leaks from the base of the toilet (that is a wax ring issue, a different and messier job); the shut-off valve or supply line shows corrosion; or you have repeated flapper failures within months, which can indicate water chemistry issues or a damaged flush valve seat that needs professional attention. Also, if the toilet rocks on the floor, stop — a rocking toilet means the flange or floor may be compromised, and that repair goes beyond the tank.
Preventing future running
Two habits extend tank part life. First, avoid drop-in tank cleaning tablets — the concentrated chlorine degrades rubber flappers and seals prematurely; use in-bowl cleaners instead. Second, replace the flapper proactively every few years rather than waiting for it to fail; it is the cheapest part in the tank and the most common failure point. While you are in there annually, wipe down the flush valve seat and check the chain length — two minutes of prevention.
A note on older and dual-flush toilets
Very old toilets (pre-1990s) often use a different flush mechanism — a float ball on a rod instead of a modern fill valve, or a flapper design that is no longer manufactured. Float-ball assemblies are still repairable: bend the rod gently downward so the ball shuts the valve off at the right level, or replace the whole ballcock-style valve with a modern universal fill valve, which fits the same mounting hole in nearly all tanks. If your toilet uses a proprietary flush tower (common in some dual-flush models), buy the manufacturer’s replacement rather than a universal part — the seals are shaped specifically for that tower, and a wrong seal will leak from day one.
Dual-flush toilets add one more failure mode: the flush buttons. If a button sticks down, the flush valve stays open and the toilet runs continuously — the fix is usually cleaning mineral buildup around the button mechanism or replacing the button assembly, a five-minute job. If the partial-flush button stops working while the full-flush works, the linkage or cable to that side has slipped; reseat it per the manufacturer’s diagram, which is usually printed inside the tank lid or available on the maker’s website.
Give the repair a full day before declaring victory
Some flapper leaks are temperature-sensitive: a seal that holds in the cool morning may weep in the warm afternoon as parts expand microscopically. After your repair, do the food coloring test twice — once right after the fix and once the next day. Also listen for the tank at night when the house is quiet; a faint periodic refill you cannot hear during the day is the telltale sign of a slow leak. Catching it now, while your tools are still out and the part packaging is still in the trash, is far easier than rediscovering it next month.
Frequently asked questions
What is “phantom flushing”?
Phantom flushing is when the toilet briefly refills on its own every so often without being used. It is the classic symptom of a slow flapper leak: water seeps past the flapper, the tank level drops, and the fill valve kicks on to top it up. Replace the flapper.
Are universal flappers really universal?
Mostly. Standard 2-inch flappers fit the large majority of modern toilets, and adjustable models cover 2-inch and 3-inch flush valves. The exceptions are some older or high-efficiency models with proprietary designs — if your toilet is unusual, bring the old flapper to the store to match it.
My toilet hisses but does not run constantly. Is that a problem?
A faint hiss right after flushing is normal — that is the fill valve refilling. A hiss that never fully stops means the fill valve is not seating completely, often due to debris or a worn seal. Try adjusting the float first; if the hiss persists, the valve likely needs replacement. For more on valves and supply connections, see how to fix a leaky faucet, which covers similar shut-off basics.
How much water does a running toilet waste?
A lot — a continuously running toilet can waste hundreds of gallons per day depending on the flow rate, which is why this repair pays for itself quickly. You do not need an exact number to know it is worth fixing today rather than next month.
What to read next
Toilet running smoothly? Keep the bathroom momentum going with how to unclog a drain without harsh chemicals and caulking 101 for resealing around the tub and toilet base.
Safety note: This article is general information, not professional contractor advice. Tank interiors are safe to work on, but if you encounter corroded supply valves, a cracked tank, or leaks at the toilet base, call a licensed plumber.