Caulk is the most underappreciated material in home maintenance. A $6 tube seals the gap that lets water rot your window sills, the crack that admits ants, and the joint that leaks heated air all winter. Yet most homeowners either never caulk or do it badly — lumpy beads, wrong products, caulk where paint or trim repair belonged.
This guide covers where caulk belongs (and where it does not), which type to use in each location, proper surface preparation, and the application technique that produces clean, professional beads instead of finger-painted messes.
Where to caulk: the priority list
Walk your home’s exterior and interior with fresh eyes. The high-value targets:
- Exterior: where siding meets window and door trim, where trim meets the foundation, around exterior faucets and vents, and any gap in the building envelope you can fit a pencil into. Water intrusion is the enemy — every exterior gap is a future rot repair.
- Bathroom: where the tub or shower meets the wall and floor, around the toilet base (leave the back uncaulked so leaks reveal themselves — more below), and where the vanity meets the wall.
- Kitchen: where the countertop meets the backsplash and wall, around the sink rim.
- Interior trim: where baseboards meet walls, where window and door casing meets the wall (paint-grade work — this is what makes trim look “built in”).
- Windows: where the window frame meets the siding or trim (exterior), never between the sash and frame (that is weatherstripping’s job — see our weatherstripping guide).
Where NOT to caulk
Caulk in the wrong place causes real harm. Never caulk weep holes — the small openings at the bottom of window frames and in brick veneer that let water drain out. Sealing them traps water inside the wall. Do not caulk the bottom edge of siding for the same reason — siding needs to drain. Avoid caulking over rot — it hides the problem while it worsens; replace rotted wood first. Do not use caulk as a structural filler for gaps wider than about 1/2 inch — use backer rod (foam rope pressed into deep gaps) first, then caulk over it. And leave the back of the toilet base uncaulked: a full caulk ring hides a wax-ring leak until the subfloor rots; the open back lets leaks show themselves early.
Choosing the right caulk
- Silicone: the best water resistance and flexibility, ideal for tubs, showers, and sinks. Downsides: cannot be painted, and nothing (including new silicone) sticks to cured silicone — removal must be total. Use it where waterproofing matters most and paint does not.
- Siliconized acrylic latex (“paintable silicone”): the versatile middle ground — paintable, easy to tool, decent flexibility. The right choice for most interior trim and many exterior joints.
- 100% acrylic latex: cheapest and easiest, but least flexible and least water-resistant. Fine for interior trim in dry areas; not for bathrooms or exteriors.
- Polyurethane: extremely durable and paintable, excellent for exterior joints and concrete. Harder to tool and clean up (mineral spirits), and it skins fast — work quickly.
- Butyl rubber: for gutters, flashing, and roofing-adjacent joints. Sticky, messy, very durable — a specialty product.
Match the caulk to the job: silicone (or a quality kitchen-and-bath formula) for wet areas, paintable siliconized acrylic for trim, polyurethane for demanding exterior joints. Using interior acrylic in a shower is the classic “caulk failure” — the product was never meant for that environment.
Preparation: 90% of a good caulk job
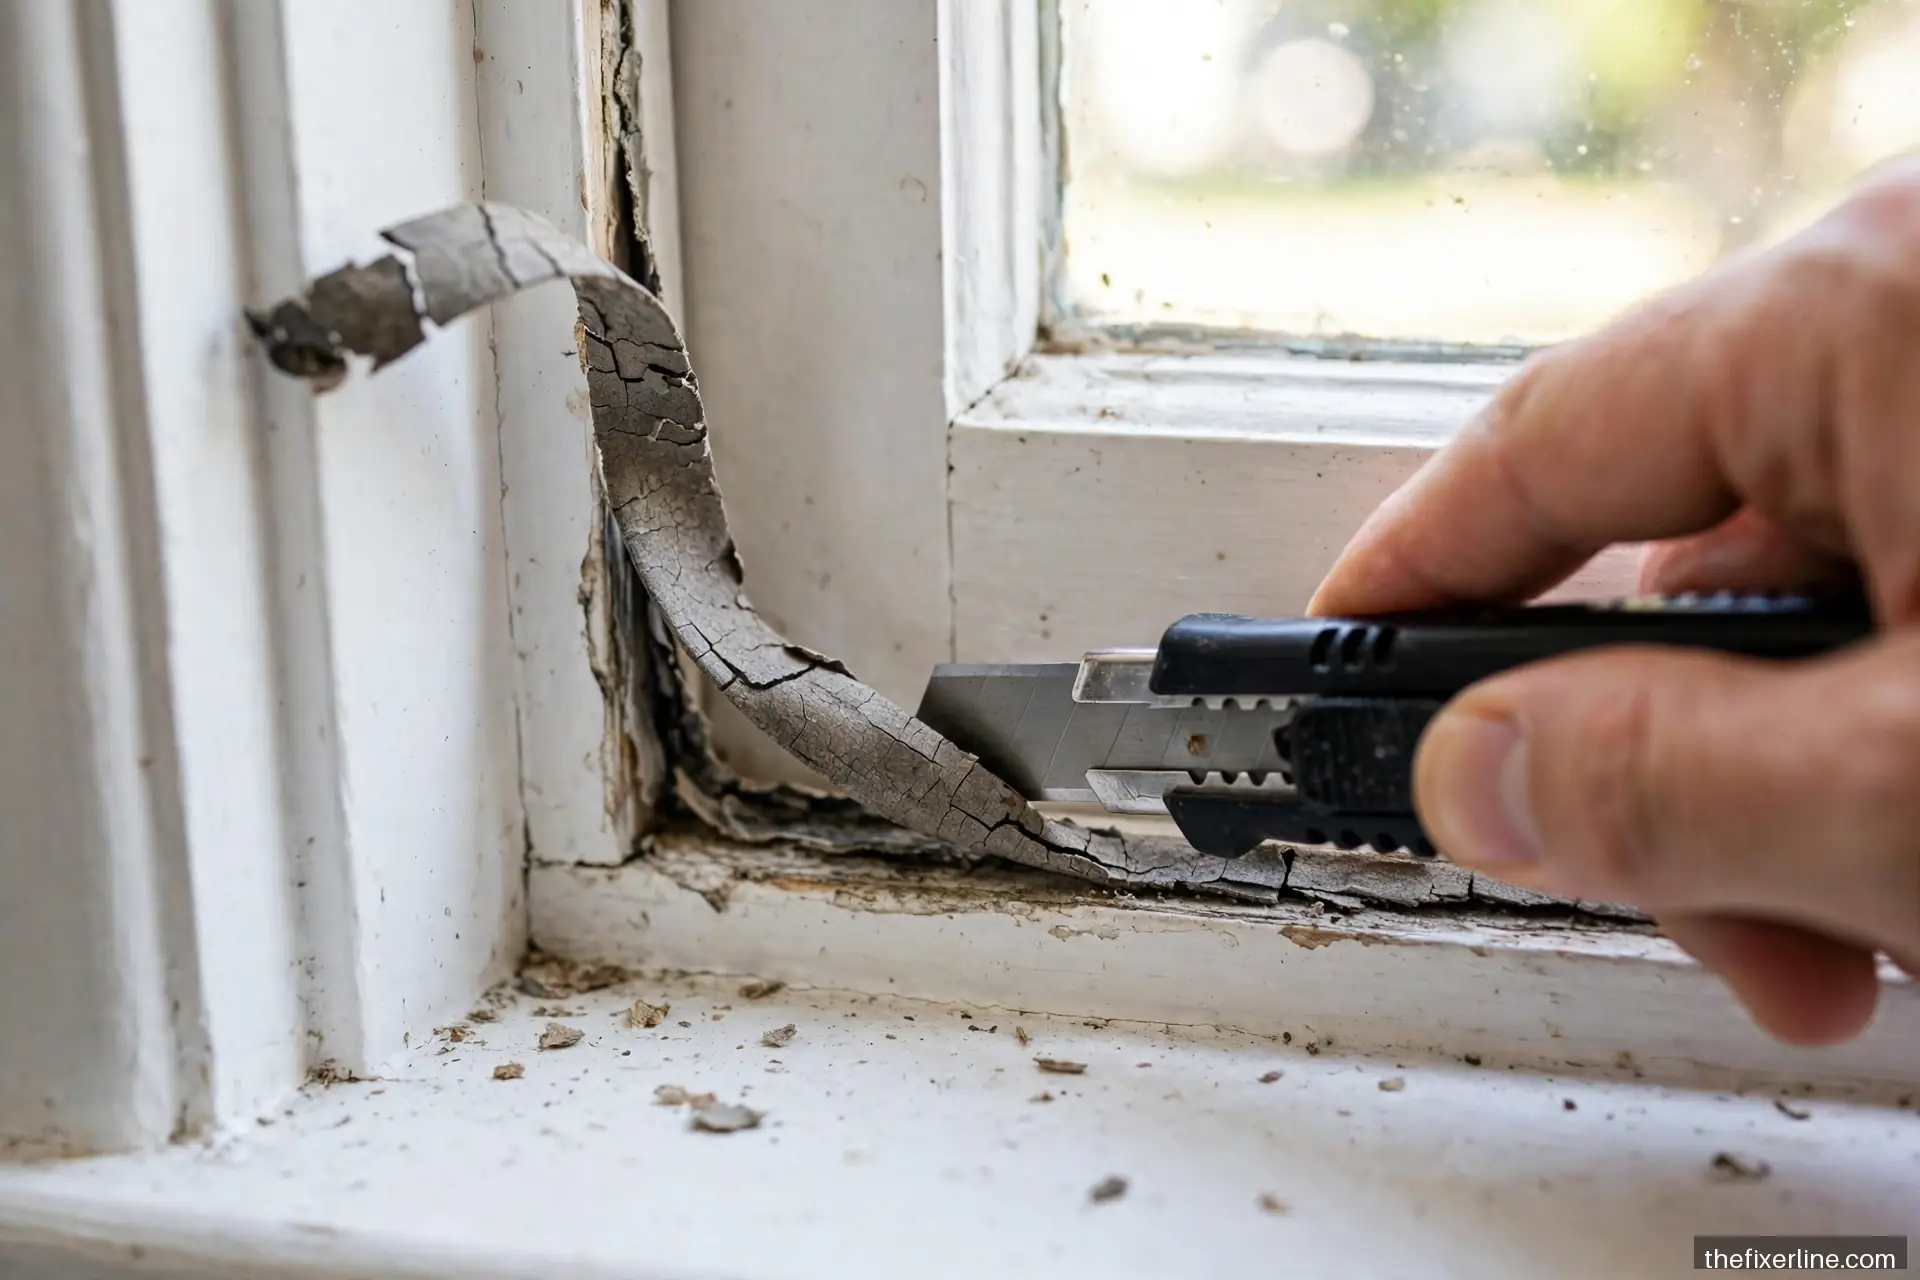
- Remove old caulk completely. New caulk does not bond to old caulk (especially silicone over silicone). Cut it out with a utility knife or a dedicated caulk removal tool, then clean the residue — silicone residue needs mineral spirits; latex residue scrapes off.
- Clean and dry. The joint must be clean, dry, and free of dust, grease, and mildew. In bathrooms, kill mildew with a bleach solution first and let it dry fully — caulking over mildew just entombs it.
- Install backer rod in gaps deeper or wider than 1/4 inch. Caulk should bond to two surfaces (the sides of the joint), not three — backer rod prevents three-sided adhesion, which causes the caulk to tear as the joint moves.
- Mask for crisp lines on visible interior work: painter’s tape on both sides of the joint, removed immediately after tooling.
The technique: cutting, gunning, and tooling
Cut the tip right
Cut the nozzle at 45 degrees, with the opening slightly smaller than the joint — you can always cut larger, never smaller. Poke the inner seal (a long nail or the poker on the caulk gun). For fine trim work, a small opening gives control; for exterior joints, a larger bead is appropriate.
Gun it steady
Hold the gun at 45 degrees and push the bead ahead of the nozzle (pushing, not pulling, forces caulk into the joint). Move at a steady speed — speeding up thins the bead, slowing down globs it. Maintain consistent pressure; the learning curve is about ten minutes on a practice joint. Keep a damp rag handy for mistakes.
Tool the bead immediately
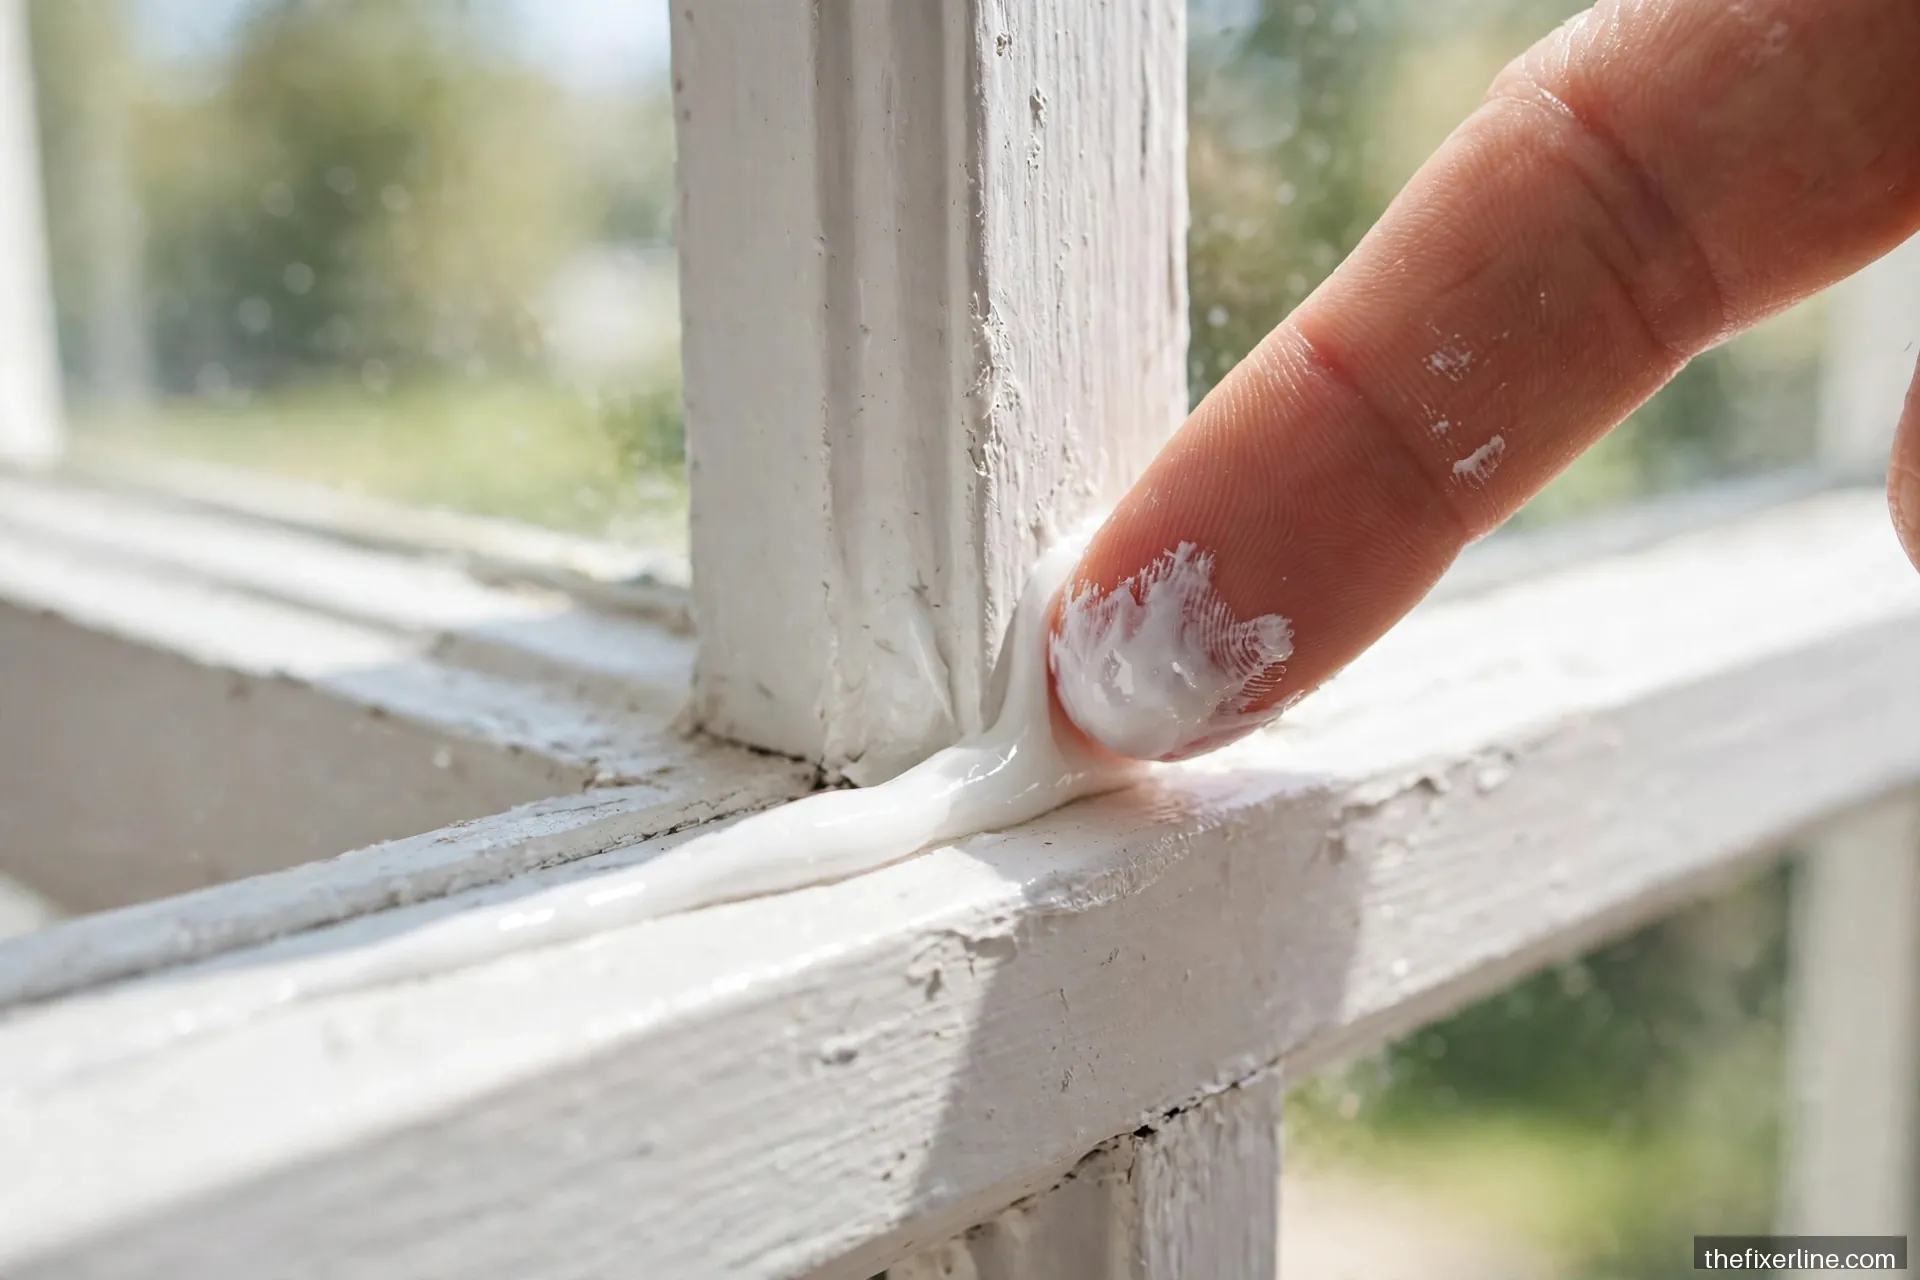
Within minutes (before skinning), smooth the bead with a wet finger, a damp sponge, or a caulking tool — one smooth pass, light pressure. Tooling presses the caulk into the joint for adhesion and gives the concave professional profile. Do not over-tool; repeated passes pull caulk out. Remove masking tape immediately after tooling, pulling away from the bead.
Bathroom caulking details
The tub-to-wall joint is the highest-stakes caulk in the house — failure means water in the wall cavity. Fill the tub with water before caulking (the weight opens the joint to its maximum; caulking it empty means the bead stretches and cracks when the tub is later filled). Use a quality kitchen-and-bath silicone or siliconized formula with mildewcide. The bead should be continuous with no gaps — a pinhole is a leak. Recaulk at the first sign of peeling, cracking, or persistent mildew that will not clean off; in most bathrooms, that is every 3–5 years. This is normal maintenance, not failure.
Exterior caulking details
Caulk exteriors in mild, dry weather — most caulks need 24 hours above freezing and dry conditions to cure. Work top to bottom so you are not leaning on fresh beads. Pay special attention to the top and sides of window and door trim (leave bottoms open for drainage unless the manufacturer says otherwise). Check penetrations — hose bibs, dryer vents, cable entries — which are often never sealed at all. An afternoon with a ladder and two tubes of polyurethane can seal a surprising amount of a home’s envelope.
Choosing and using a caulk gun properly
The gun matters more than beginners expect. A basic ratchet-rod gun works, but a smooth-rod dripless gun (which releases pressure when you stop squeezing) prevents the ooze-blob at the end of every bead that plagues cheap guns — it is a small upgrade that visibly improves results. Cut the tip, puncture the seal, and do a test bead on cardboard to dial in your speed and pressure before touching the actual joint. Keep the gun moving: stopping mid-bead creates a blob that is hard to tool out. When you finish a joint, release the pressure (or pull the rod back on a ratchet gun) immediately — the number one beginner mistake is setting down a pressurized gun and watching caulk continue to ooze onto the finished work.
The annual caulk walkthrough
Add a caulk inspection to your fall maintenance routine — it takes twenty minutes and prevents the most expensive kind of water damage: the slow, hidden kind. Walk the exterior with a critical eye: probe suspect beads with a fingernail (failing caulk is brittle, cracked, or pulls away from one side), check the high-movement joints (where different materials meet — wood to masonry, trim to siding), and look for the subtle signs of water getting behind trim: paint peeling in sheets, wood that looks gray and soft, or staining below joints. Inside, check the tub, shower, and sink beads for gaps, peeling, or mildew that will not clean off. Recaulk failures immediately — a ten-minute bead now versus a rot repair later is the entire economics of caulk maintenance. Our 2026 home maintenance calendar slots this walkthrough into the fall checklist alongside gutter cleaning and heating system checks.
Frequently asked questions
How long does caulk last?
Interior trim caulk: many years, often a decade or more. Bathroom caulk: 3–5 years typically, less with harsh cleaners. Exterior caulk: 5–10 years depending on product, sun exposure, and joint movement. Inspect annually — catching a failing bead early is a ten-minute fix; catching it after water intrusion is a repair project.
Can I paint over silicone caulk?
No — paint does not adhere to cured silicone. If the joint needs paint, use paintable siliconized acrylic instead. If you have already applied silicone where paint is needed, the only fix is complete removal and replacement. This is the most common caulk product-selection mistake.
The caulk in my shower keeps getting moldy. What am I doing wrong?
Probably nothing — shower caulk lives in the harshest environment in the house. Use a mildewcide formula, ventilate the bathroom (run the exhaust fan during and 20 minutes after showers), squeegee walls after use, and accept that replacement every few years is normal. Persistent mold behind the caulk, though, means water is getting past it — remove, inspect, and recaulk rather than just cleaning the surface. For the exhaust fan side of the equation, see our weatherstripping guide’s ventilation notes.
The gap is huge — can I just fill it with caulk?
No. Caulk is a sealant, not a filler — beads wider than about 1/2 inch shrink, crack, and fail. Fill deep gaps with backer rod first (it is cheap foam rope that presses into the joint), then caulk over it. For gaps wider than an inch, the right fix is trim, flashing, or reframing — not more caulk.
What to read next
Pair with painting a room like a pro — caulked trim is what makes paint look professional — and weatherstripping for the full air-sealing picture.
Safety note: This article is general information, not professional contractor advice. Use ladders safely for exterior work, ventilate when using solvent-based products, and never seal weep holes or drainage paths.