That solid-wood dresser with the scratched, cloudy finish is probably better furniture than anything you would buy new at the same price — it just needs its surface renewed. Refinishing wood furniture is one of the most satisfying DIY projects: the transformation from dull and damaged to rich and glowing happens before your eyes, and the skills (stripping, sanding, staining, topcoating) transfer to floors, trim, and cabinets.
This guide covers assessing whether a piece is worth refinishing, safe stripping methods, the sanding sequence that determines everything, staining for even color, and protective topcoats. It also covers when not to refinish — because some pieces should be left alone.
Is this piece worth refinishing?
Refinish when: the piece is solid wood (or quality veneer in good condition) with good bones — sturdy joinery, no structural damage; the existing finish is worn, scratched, or cloudy but the wood underneath is sound; or you love the piece’s shape and want it to match your decor. Do not refinish antique furniture of potential value — original finish is a huge component of antique value, and refinishing can destroy it; consult an appraiser first. Think twice about pieces with failing veneer (bubbling, peeling across large areas — re-veneering is advanced work), particleboard furniture (it does not take stain and the “wood” is a printed photo layer), and pieces with more structural repair needed than finish work — fix structure first, always.
A quick test for solid vs. veneer: look at the edge and the end grain. If the grain pattern continues around the edge naturally, it is likely solid. If there is a thin layer visibly distinct from the substrate, it is veneer — refinable if the veneer is intact, but sand with extreme care (veneer can be 1/40 inch thick; one aggressive pass burns through it).
Safety first: dust, fumes, and lead
Refinishing involves chemical strippers, sanding dust, and solvent fumes — respect all three. Work in a ventilated area (garage with the door open, outdoors in shade). Wear a respirator rated for organic vapors when using strippers and solvent-based finishes (a dust mask is not enough for fumes), plus nitrile gloves and eye protection. Keep rags used with oil-based products flat to dry outdoors — bunched oil-soaked rags can spontaneously combust; this is a real and documented hazard, not folklore. And if the piece predates 1978, test for lead paint before sanding or stripping — use a lead test kit, and if positive, follow lead-safe practices or hire a certified professional.
Step 1: Stripping the old finish
You have three options, from gentlest to most aggressive:
Chemical stripper (best for most projects)
Brush on a thick coat of stripper (citrus-based or soy-based gel strippers are lower-fume and effective for most finishes; methylene-chloride strippers are faster but harsh — use with full precautions). Wait per the directions (15–60 minutes), then scrape the softened finish off with a plastic scraper — plastic, not metal, to avoid gouging. Work in the direction of the grain. For carved details, use a brass brush or coarse steel wool with stripper. Neutralize per the product’s directions (many require a mineral-spirits or water wipe-down), and let the piece dry fully — at least 24 hours — before sanding.
Heat gun (for thick paint layers)
A heat gun softens paint for scraping — effective on thick built-up paint, but risky: too much heat scorches wood and vaporizes lead paint (never use heat on suspected lead paint). Keep the gun moving, work small areas, and scrape as the paint bubbles. This method is better suited to paint removal than to varnish.
Sanding only (for thin, intact finishes)
If the existing finish is thin and well-adhered, you can often skip stripping and sand it off — start with 80–100 grit to cut through, then progress. This is dustier and slower for thick finishes but avoids chemicals entirely. It is also the right approach for veneer, where chemical strippers can loosen glue.
Step 2: Sanding (the step that determines everything)
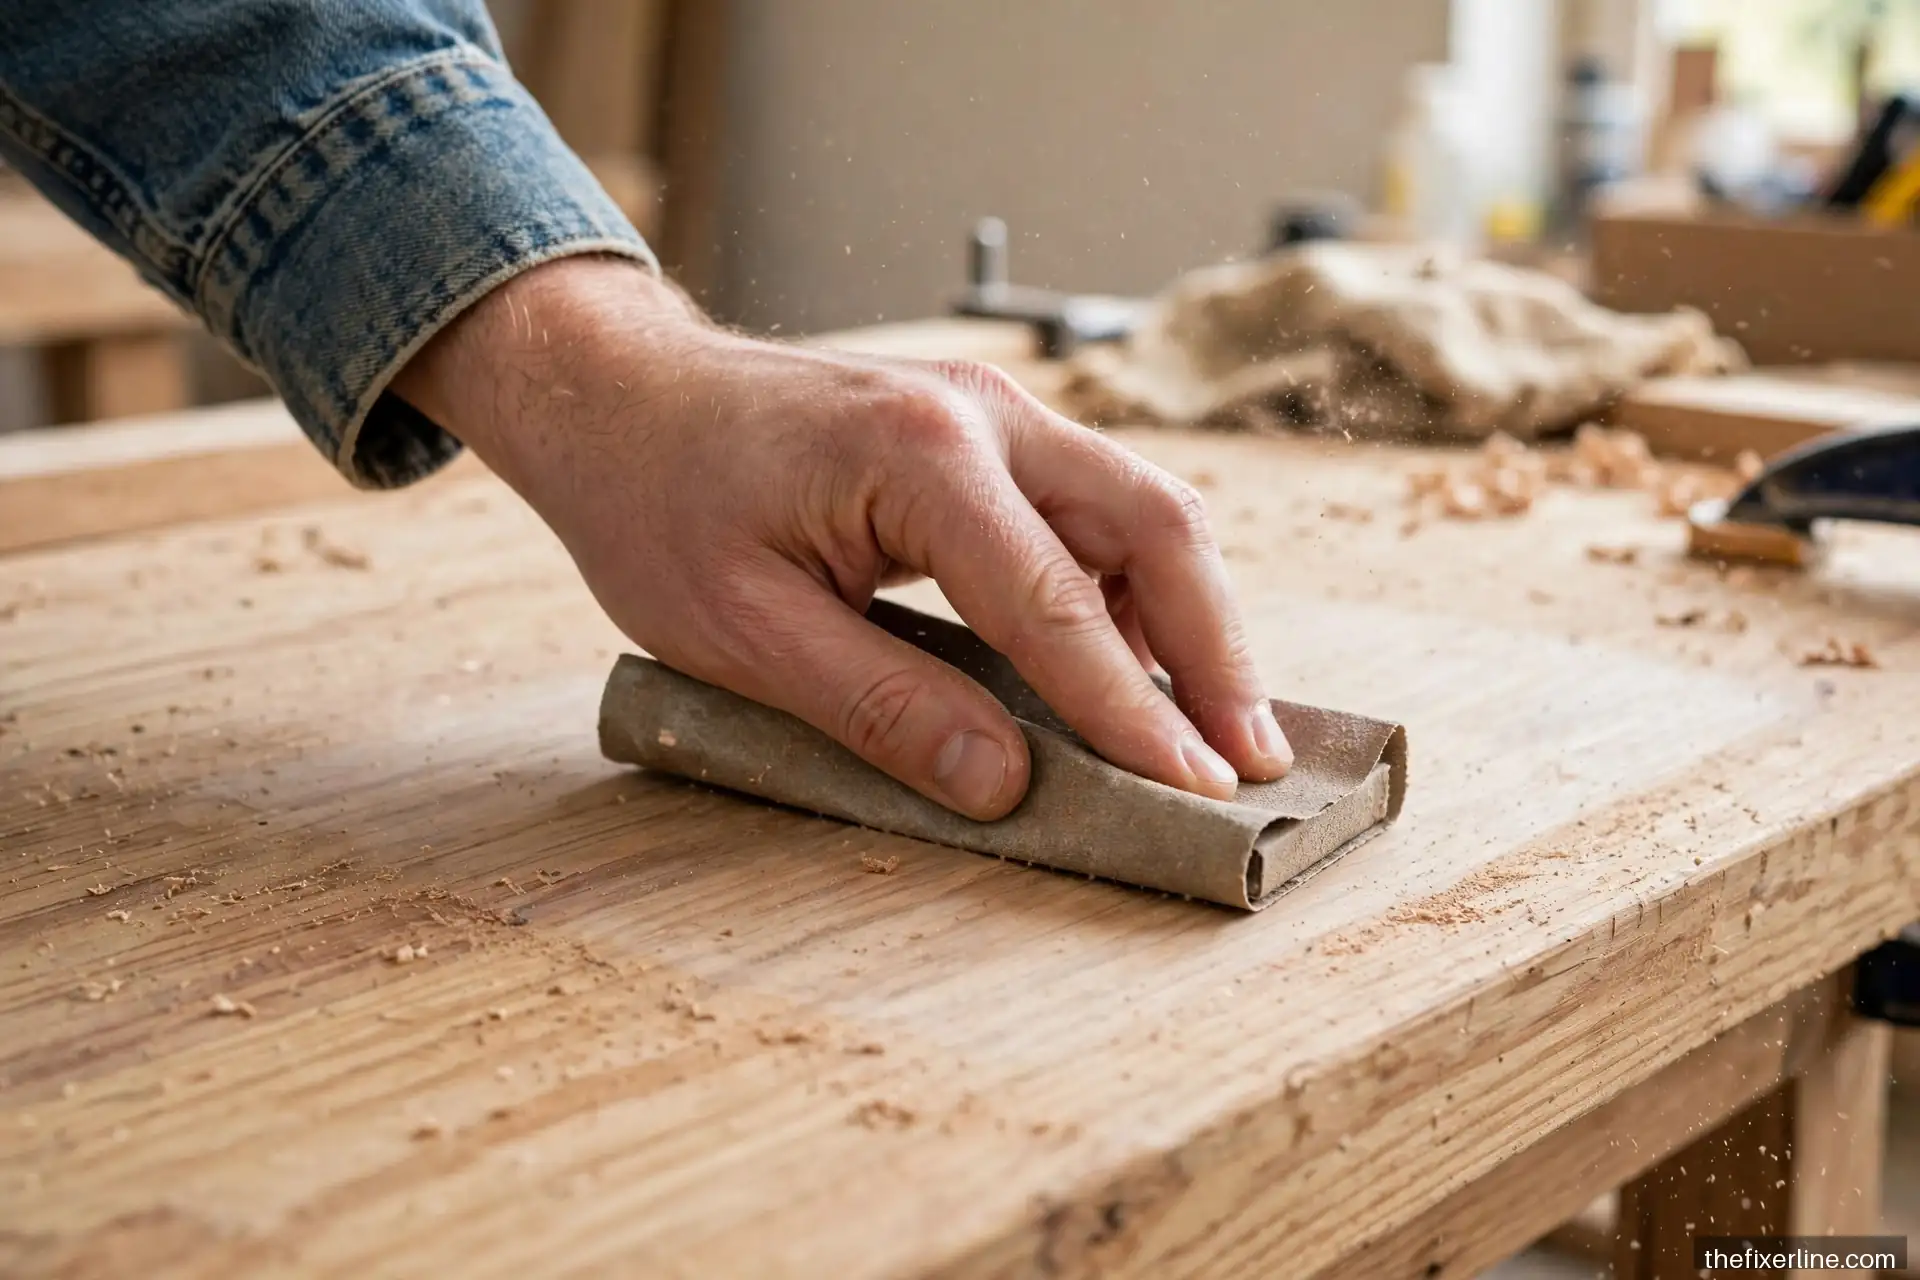
Stain and topcoat only look as good as the sanding beneath them. The sequence:
- Start at 100–120 grit to remove remaining finish and level the surface. Sand with the grain — always. Cross-grain scratches show through stain mercilessly.
- Progress through grits: 120 → 150 → 180 → 220. Each grit removes the scratches of the previous one. Skipping grits leaves visible scratch patterns.
- Do not over-sand. Going beyond 220 on most furniture burnishes the wood and actually impedes stain absorption. 220 is the standard stopping point (150–180 for very porous woods).
- Clean thoroughly between grits. Vacuum, then wipe with a tack cloth. Dust left on the surface gets sanded into the wood by the next grit.
- Raise the grain (optional but recommended): wipe the sanded wood with a damp cloth, let dry — the grain raises slightly. Lightly sand with your final grit to knock it down. This prevents the stain or topcoat from raising the grain and ruining your finish.
For veneer: start no coarser than 150, sand by hand (not with a power sander — too aggressive), and check your progress constantly. The moment you see a color change indicating the substrate, you have gone too far.
Step 3: Staining for even color
Stain adds color; it does not protect — that is the topcoat’s job. For even results:
- Test first. Apply your stain to an inconspicuous spot or a scrap of the same wood. Wood species absorb stain very differently — pine blotches, oak takes it evenly, maple resists. The test tells you what you are working with.
- Use wood conditioner on blotch-prone woods (pine, fir, birch, maple). This pre-stain sealer partially seals the wood so stain absorbs evenly. It is the difference between professional-looking and amateur-looking results on these species.
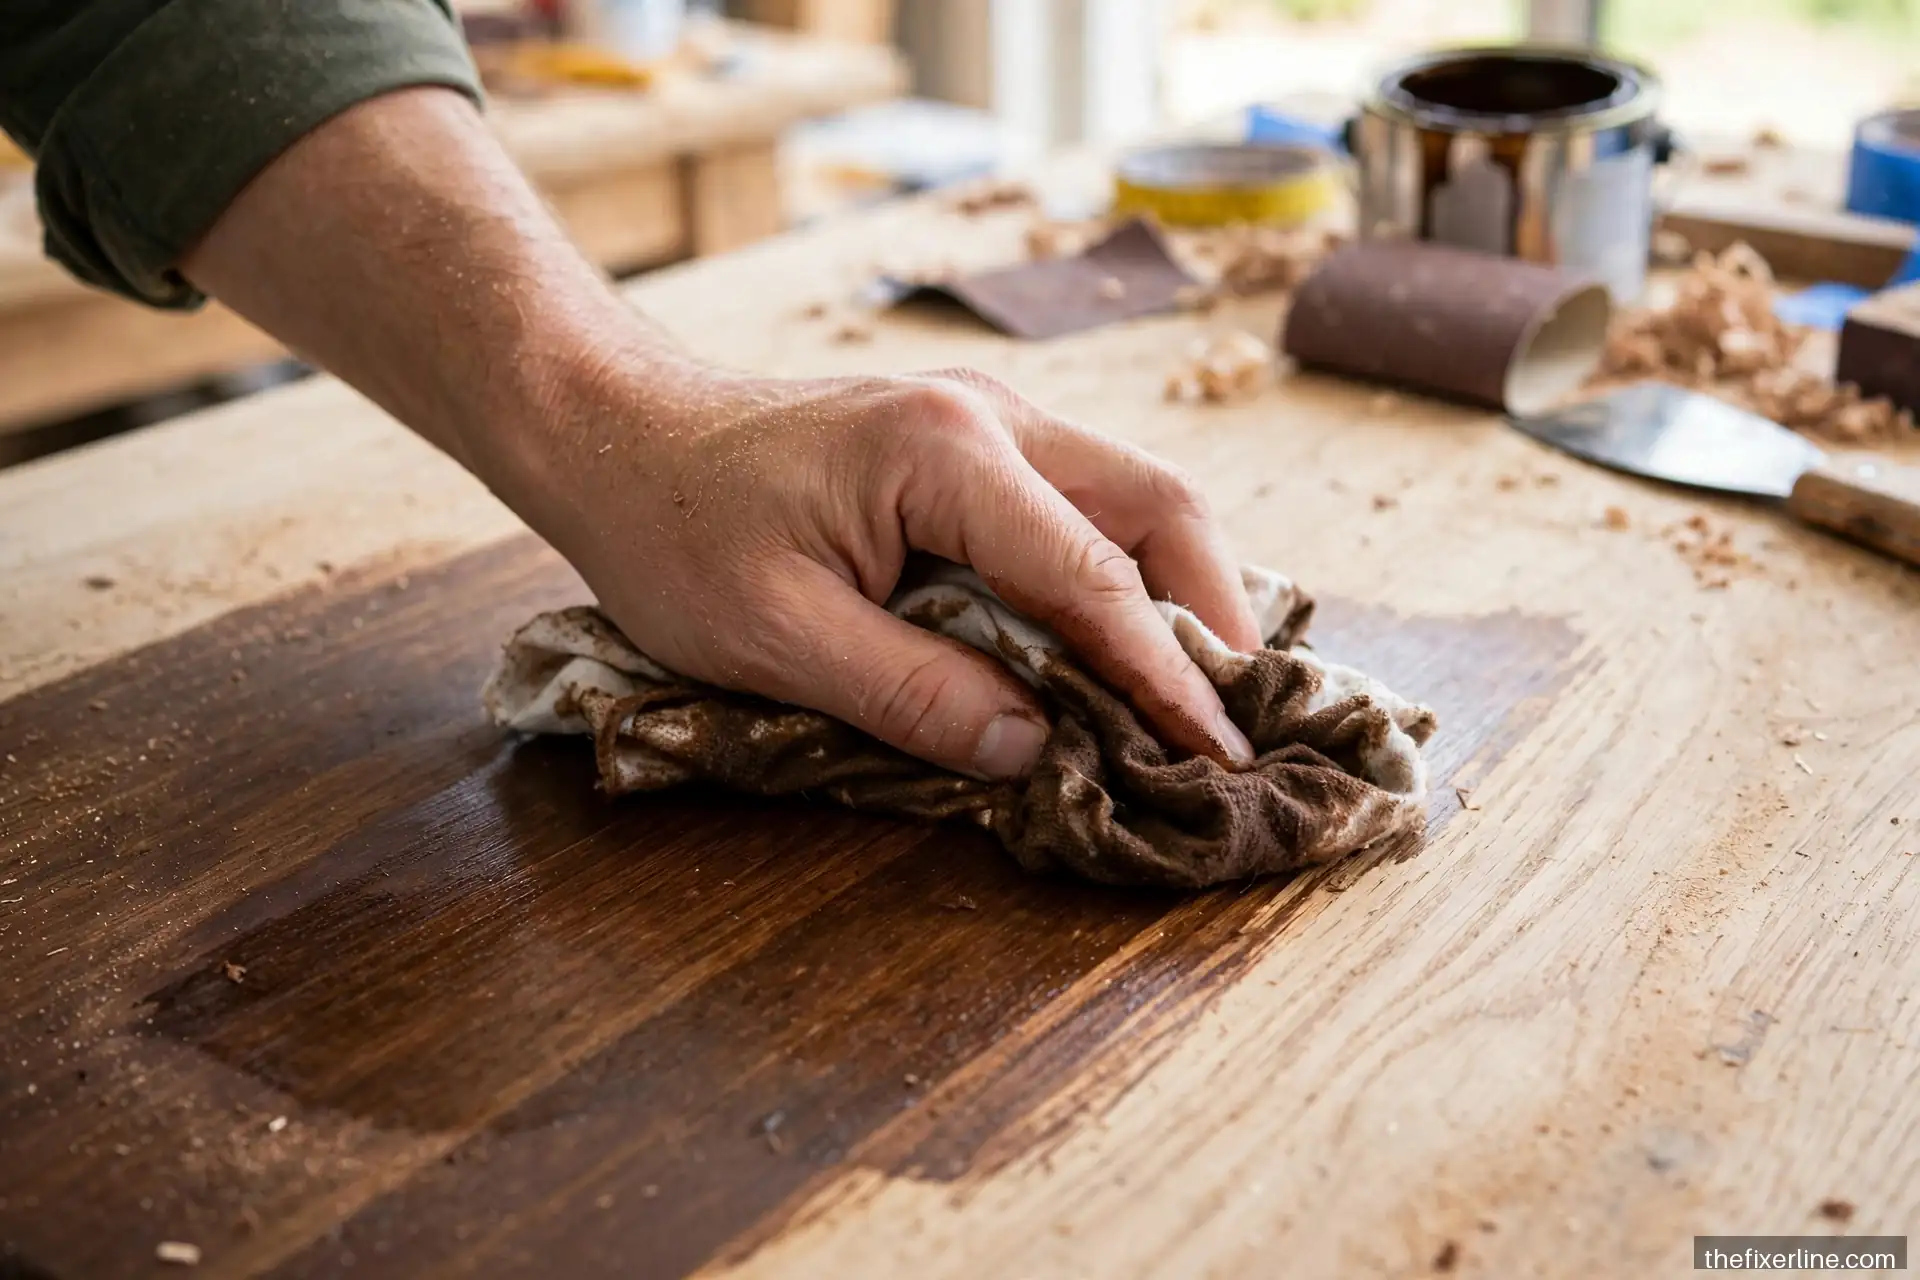
- Apply generously, wipe consistently. Brush or wipe stain on liberally, let it penetrate 5–15 minutes (longer = darker, per the can’s guidance), then wipe off all excess with a clean cloth, wiping with the grain. Inconsistent wipe timing = inconsistent color.
- Build color with coats, not time. For deeper color, apply a second coat after the first dries rather than leaving the first on excessively long — overlong dwell times get gummy, not darker.
Step 4: Protective topcoat
Choose by use: polyurethane (oil-based: warm tone, very durable, longer dry; water-based: clear, fast-drying, lower odor) for tabletops and high-wear surfaces — 3 coats minimum, light 220-grit sanding between coats. Wipe-on poly or oil finishes (tung oil, Danish oil) for a natural hand-rubbed look on lower-wear pieces — easier to apply, easier to repair, less protective. Lacquer dries fast and looks gorgeous but is best sprayed — beyond most beginners. Apply thin coats (thick coats run and stay soft), sand lightly between coats with 220–320 grit, and let the final coat cure fully (up to 30 days for oil-based poly to reach full hardness — treat the piece gently in the meantime).
Common problems and fixes
- Blotchy stain: caused by skipping conditioner on porous wood or inconsistent wipe timing. Fix: sand back and redo with conditioner — there is no shortcut.
- Dust nibs in topcoat: sand lightly with 320 grit and apply another thin coat; improve dust control (tack cloth, still air, no sweeping nearby).
- Runs in topcoat: let dry fully, sand the run flush, recoat thinly. Prevention: thinner coats, and watch vertical surfaces especially.
- Cloudy/milky finish: moisture trapped in the finish (humidity too high during application) — sometimes resolves as it cures; if not, sand and recoat in drier conditions.
- Stain too dark: wipe with mineral spirits immediately (for oil-based, while wet) to lighten; if dry, sand back and restart. Always test first.
Maintaining the renewed finish
Protect the investment: use coasters and felt pads (the five-minute habit that prevents 90% of tabletop damage), clean with a damp cloth rather than harsh cleaners, and reapply oil finishes annually on pieces that get heavy use. For polyurethane, a maintenance coat every few years on worn spots keeps the protection continuous — scuff-sand, wipe clean, apply one thin coat. And keep the piece out of direct sun: UV fades stain and degrades topcoats over time, the slow-motion version of the damage you just repaired.
Frequently asked questions
How long does refinishing a piece take?
A small side table: a weekend. A dresser or dining table: a week of evenings, mostly waiting for stripper, stain, and topcoat to dry. Drying and curing times dominate the schedule — the active work is a fraction of the elapsed time. Do not rush curing; a topcoat that feels dry is not fully hard.
Should I just paint it instead?
Painting is faster, more forgiving, and the right choice for damaged veneer, particleboard, or pieces where you want opaque color. Refinishing (stain + clear coat) is for showcasing wood grain. Neither is “better” — they are different looks. A quality painted finish on a well-prepped piece looks intentional and lasts; a bad stain job looks worse than paint would have.
Is it safe to refinish veneer?
Yes, if the veneer is firmly attached and you sand gently by hand starting at 150 grit or finer. Chemical strippers are riskier on veneer (they can soften the glue) — sanding-only finish removal is safer. If veneer is bubbling or peeling across large areas, re-veneering or painting over it are more realistic options than refinishing.
Can I use these techniques on outdoor furniture?
The prep is similar, but outdoor pieces need exterior-rated products: spar varnish or exterior oil finishes that flex with wood movement and resist UV. Interior polyurethane fails outdoors within a season or two. Also consider whether refinishing is worth it versus replacement for weather-beaten outdoor pieces — sometimes it is, sometimes the wood is too far gone. Our caulking guide covers sealing the joints on outdoor wood structures.
What to read next
Refresh the room around the furniture with painting a room like a pro, and fix the walls behind it with drywall patching.
Safety note: This article is general information, not professional contractor advice. Ventilate well, wear organic-vapor respirators with strippers and solvent finishes, test pre-1978 pieces for lead, and dry oil-soaked rags flat outdoors to prevent spontaneous combustion.