Water dripping from a pipe joint under the sink has a way of announcing itself at the worst moment — usually when you reach for the cleaning supplies and find a small swamp instead. The good news is that many joint leaks, especially at slip nuts and compression fittings under sinks, are DIY-fixable in minutes. The important skill is telling the difference between a leak you can safely stop and one that is warning you about a bigger problem.
This guide covers the common types of household pipe joints, which leaks are safe to tackle, the temporary fixes that buy you time, and the red flags that mean you should call a licensed plumber immediately rather than reaching for a wrench.
Know your joint types
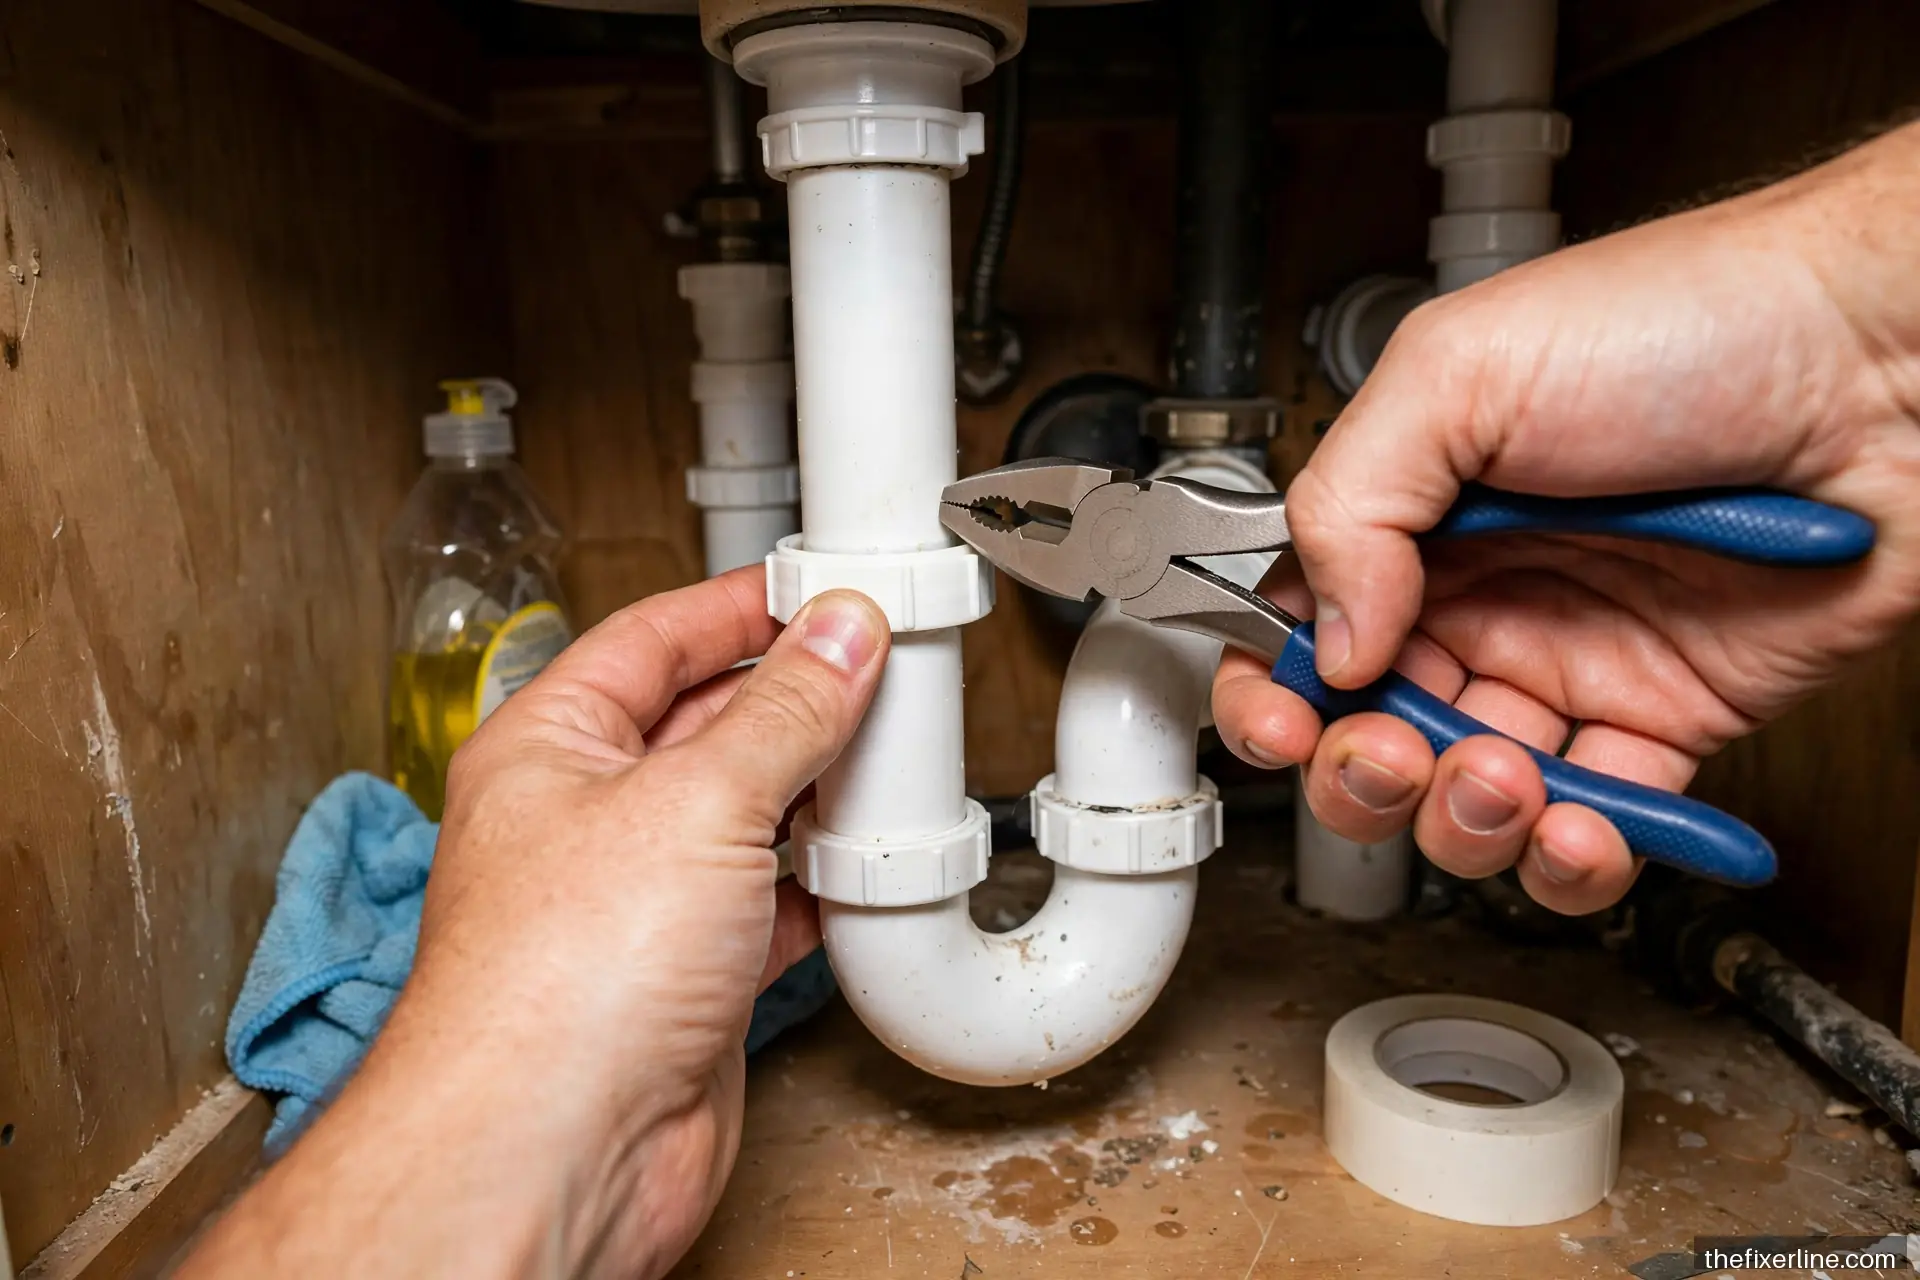
Under a typical sink you will find slip-joint connections — the white or chrome nuts on the curved trap pieces that tighten by hand plus a quarter turn. These are the most DIY-friendly: they seal with a simple washer and come apart easily. You may also see compression fittings on supply lines — a nut that squeezes a brass or plastic ferrule (ring) against the pipe. Compression joints are also homeowner-serviceable with care.
What you should generally not touch: soldered (sweat) copper joints, which require a torch to repair properly; threaded galvanized pipe joints in old homes, which are often corroded and can break if disturbed; and anything involving the main water line or gas lines — gas is never a DIY repair, full stop. If you are unsure what you are looking at, take a photo and show it to a plumber before proceeding.
First response: what to do in the first five minutes
- Shut off the water to the fixture (under-sink valves) or the whole house (main valve) if the leak is significant or you cannot find the fixture valve.
- Contain the water: bucket under the drip, towels around it. Water damages cabinets fast — particleboard swells irreversibly.
- Identify the exact source. Dry everything with a towel, then watch (or feel with a dry paper towel) to find where water first appears. Leaks travel along pipes, so the drip point is often below the actual leak. Trace upward.
- Note the pattern: does it leak constantly, or only when the faucet runs? Constant leaking with the water on suggests a supply-side joint; leaking only during drainage points to the drain assembly or trap.
Leaks you can fix yourself
The loose slip nut
The single most common under-sink leak. Try tightening the nut by hand first, then add a quarter turn with pliers. That is often the entire repair. Do not overtighten — cracked plastic nuts are a classic DIY-created problem. If tightening stops the leak, check it again in a day to be sure.
The worn washer
If tightening does not work, the slip-joint washer inside is probably flattened or cracked. Disassemble the joint (bucket underneath), remove the old washer, and replace it with a new one of the same size and type — beveled washers must face the right direction (the bevel faces the fitting). Reassemble hand-tight plus a quarter turn. Washers cost very little; as an illustrative example, a small assortment pack is typically just a few dollars — prices vary by store.
The weeping compression fitting
For a slow weep at a compression nut on a supply line: first try tightening the nut slightly (an eighth to a quarter turn). If it persists, shut off the water, disassemble, and inspect the ferrule — a cracked or deeply grooved ferrule needs replacement, and the ferrule must match the pipe material and size. Reassemble and tighten firmly. If a compression joint has been overtightened before, the pipe underneath may be deformed, in which case the reliable fix is cutting back to fresh pipe — a job for a plumber if you are not comfortable with a tubing cutter.
Temporary fixes that buy you time
Sometimes you need to stop a leak now — it is Sunday night, the plumber comes Tuesday — and a proper repair has to wait. These are legitimate stopgaps, not permanent repairs:
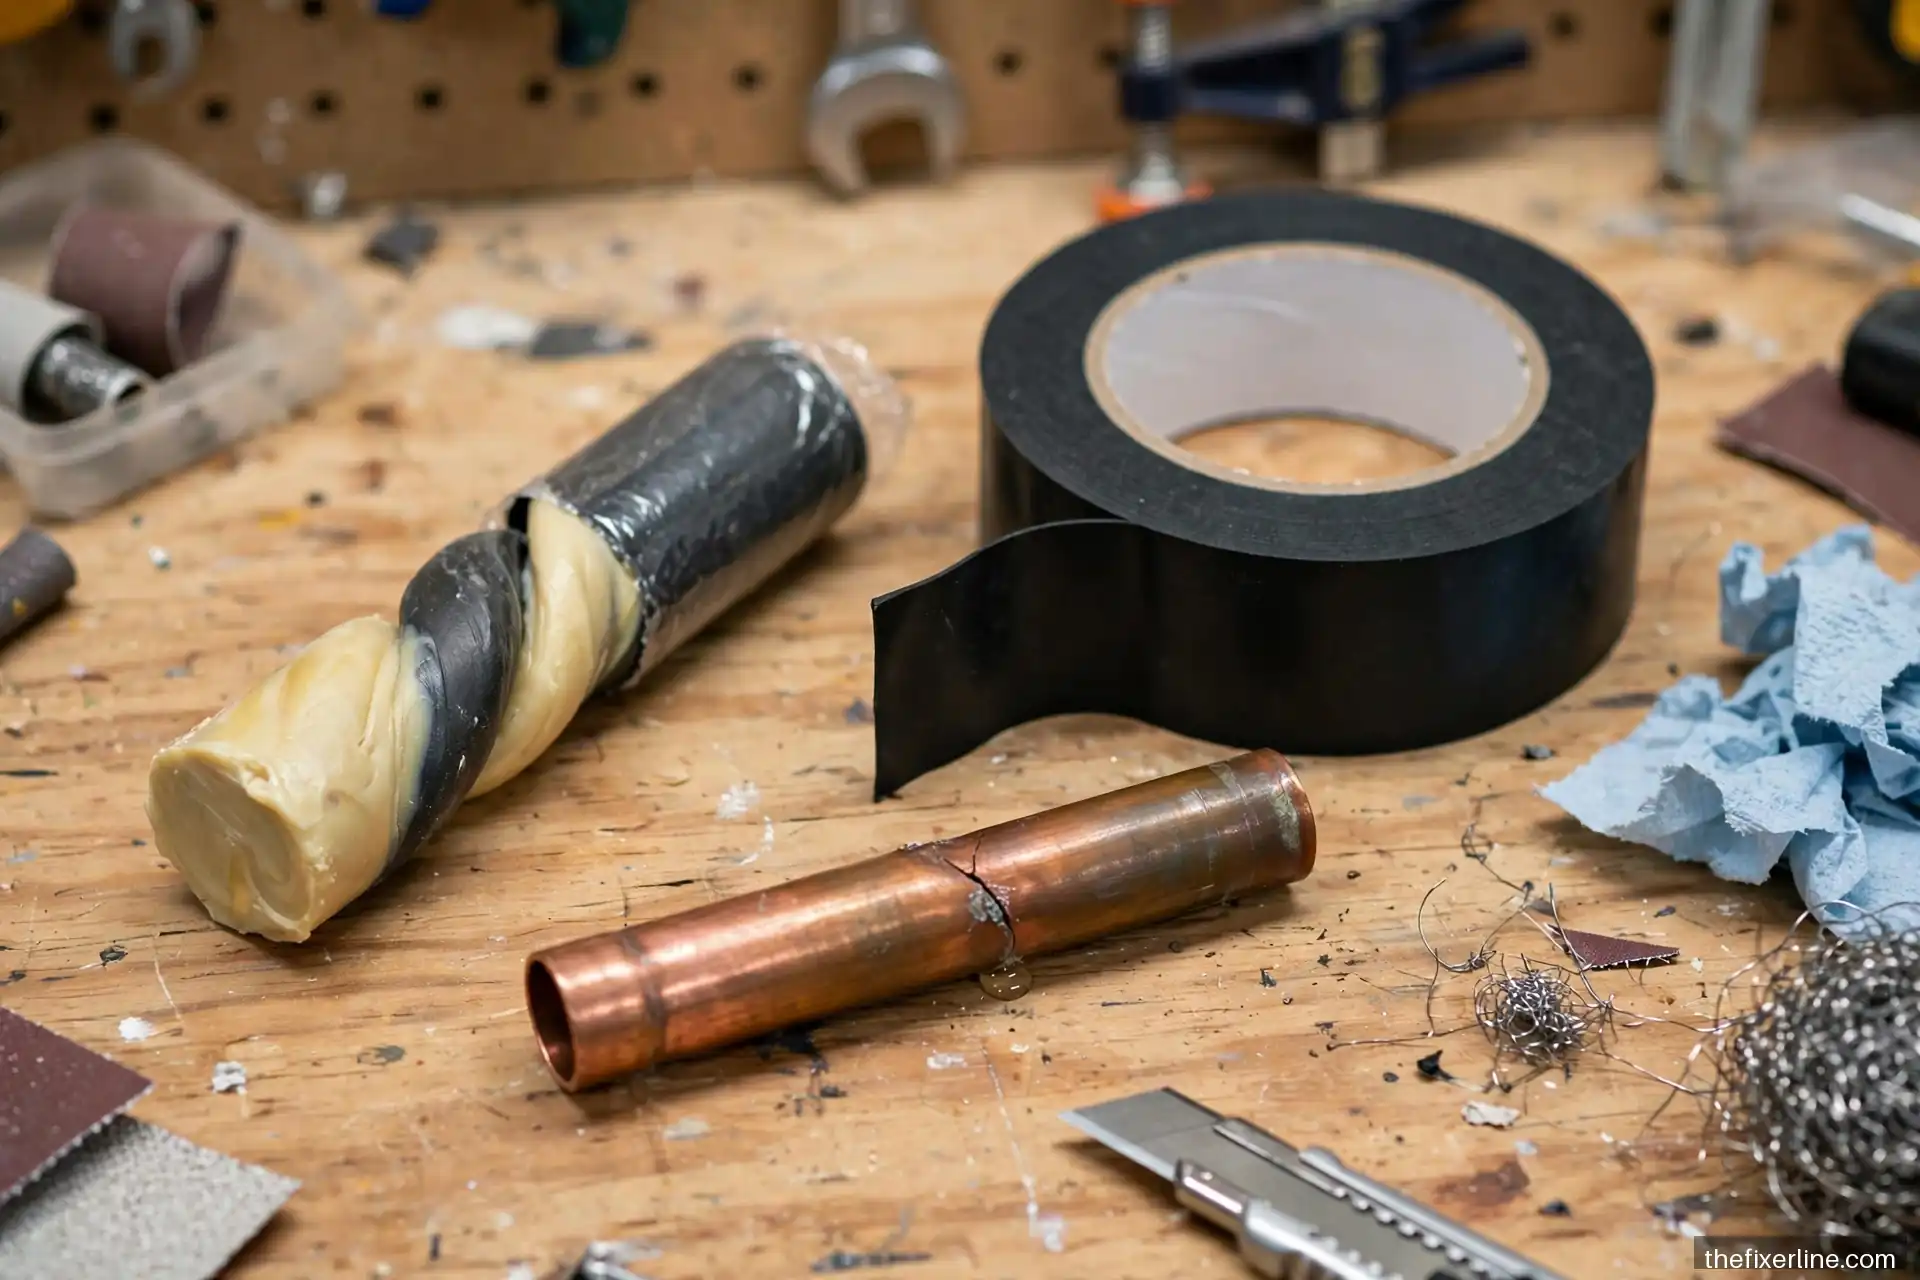
- Epoxy putty: knead the two-part putty, press it firmly over the leaking joint, and let it cure per the package directions. Works best on small seeps in accessible spots. It is a patch, not a repair — plan the real fix.
- Self-fusing silicone tape: stretch-wrapped tightly over the joint, it forms a waterproof seal. Better than regular tape because it bonds to itself. Good for pinhole seeps on straight sections near joints.
- Pipe repair clamp: a metal sleeve with a rubber gasket that bolts around the pipe. The most robust temporary option for straight pipe sections.
Be honest with yourself about “temporary.” A patch that holds for a month has a way of becoming permanent in your mind — until it fails at 2 a.m. Schedule the real repair when you apply the patch, not “later.”
Red flags: call a licensed plumber now
Stop and call a professional if you see any of these — they indicate problems beyond a simple joint:
- Water spraying or gushing rather than dripping — shut off the main and call.
- Corrosion, green/white crust, or flaking on copper or galvanized joints — the metal is deteriorating, and disturbing it can turn a drip into a break.
- Leaks inside walls or ceilings (stains, bulging drywall, musty smell) — the visible damage is the tip of the iceberg; this needs professional diagnosis.
- Anything involving gas lines — if you smell gas, leave the house and call your gas utility’s emergency line. Never DIY gas.
- Water heater connections — leaks at the water heater involve pressure, temperature, and often code requirements. Pro territory.
- Polybutylene or badly corroded galvanized pipe — these materials fail unpredictably; a pro should assess the system.
For a broader framework on where DIY ends, see 10 home repairs you should never DIY.
After the repair: check your work
Turn the water back on slowly and inspect every joint you touched with a dry paper towel — it reveals moisture your eyes miss. Run the faucet for a full minute (hot and cold), then fill the basin and release it to test the drain side under load. Check again after 24 hours; some slow seeps take time to appear. Keep the cabinet under the sink clear for a few days so you can spot any return of the leak early.
Preventing joint leaks
Most joint leaks are age and vibration, not abuse. Still, a few things help: do not hang heavy items (cleaning caddies, trash bags) from under-sink pipes — the weight stresses joints. Do not overtighten anything; hand-tight plus a quarter turn is the rule for plastic slip nuts. When storing items under the sink, avoid shoving boxes against the trap assembly — a sharp knock is all it takes to crack a slip nut. And once a year, run your hand along visible under-sink joints feeling for moisture; catching a weep early is the difference between a washer and a swollen cabinet floor.
When the leak is the supply line itself
Sometimes the drip is not at a joint at all but along a flexible supply line — the braided or corrugated connector between the shut-off valve and the faucet or toilet. Flex lines have a service life (often cited by manufacturers as roughly a decade, though conditions vary), and they fail by weeping at the crimped ends or developing pinholes. Replacing one is a straightforward DIY job: shut off the valve, disconnect both ends, and install a new line of the same length and fitting size. Bring the old line to the store to match the connector types — the most common mistake is buying the wrong thread size.
Two details matter. First, do not reuse the old ferrule or compression ring with a new line; always use the new hardware that comes with it. Second, hand-tighten plus a modest wrench turn — braided lines seal with a rubber washer inside the nut, and overtightening crushes it. After installation, turn the water on slowly, check both ends with a dry paper towel, and recheck after an hour. If your shut-off valve itself is the original builder-grade multi-turn valve and it weeps when you operate it, consider having a plumber replace it with a quarter-turn ball valve during the same visit — it is a small upgrade that makes every future under-sink job safer and easier.
Dealing with water damage under the sink
A joint leak that went unnoticed may have damaged the cabinet floor. Minor surface swelling of particleboard is cosmetic; soft, crumbly, or discolored material means the board is compromised. Small damaged areas can be sealed with a waterproof coating after thorough drying (a fan for 24–48 hours), and a plastic drip tray placed afterward catches future leaks before they reach the wood again. If the cabinet floor is structurally soft or you smell persistent mustiness, the damage may extend beyond what a surface fix addresses — dry it completely, and if mold is suspected, consult a professional rather than sealing it in. Prevention, as always, beats repair: a five-dollar drip tray is the cheapest insurance in your kitchen.
Frequently asked questions
Should I use Teflon tape on slip-joint connections?
No — Teflon (PTFE) tape is for tapered threaded pipe connections, not slip joints. Slip joints seal with the washer, and tape on the threads does nothing for the seal (the threads are not the sealing surface). Using it anyway is harmless but pointless; a new washer is the actual fix.
How tight is tight enough?
For plastic slip nuts: hand-tight, then about a quarter turn with pliers. For metal compression nuts: firm with a wrench, but stop when resistance increases sharply. The rule of thumb: tighten until the leak stops, then a tiny bit more — never keep cranking “just to be sure.”
Can epoxy putty be a permanent fix?
Manufacturers may claim durability, but on a pressurized supply joint, treat it as temporary. On a non-pressurized drain joint, a well-applied epoxy repair can last a long time — but it makes future proper repair harder, since the next person has to cut through it. Use it as a bridge to a real fix.
What if the “leak” is just condensation?
Cold water pipes sweat in humid weather, and the drips look exactly like a leak. The test: dry the pipe thoroughly, then watch. Condensation forms evenly over the cold pipe’s surface; a leak appears at one specific joint and drips from that point. Pipe insulation sleeves solve condensation — a different fix from a joint repair. If drafts are part of your home’s moisture story, our guide to weatherstripping doors and windows may help.
What to read next
Pair this with how to fix a leaky faucet — the two most common under-sink repairs — and how to unclog a drain without harsh chemicals for the full sink maintenance picture.
Safety note: This article is general information, not professional contractor advice. Shut off water before disassembling any joint, never work on gas lines yourself, and call a licensed plumber for corrosion, in-wall leaks, or water heater issues.