Every home collects wall damage: nail holes from picture frames, dents from furniture, the occasional doorknob punched through drywall. Patching drywall looks intimidating, but it is one of the most forgiving DIY repairs — the materials are cheap, mistakes sand off, and the technique scales cleanly from a nail hole to a hole the size of your fist.
This guide covers all three repair sizes — small (nail holes and dings), medium (up to about 6 inches), and large (anything bigger) — with the right method for each. Using the small-hole technique on a large hole (or vice versa) is the most common reason patches fail, so matching method to size is the whole game.
Assess the damage first
Measure the hole and check what is behind it. Small holes (under 1 inch — nails, screws, anchors) need only filler. Medium holes (1–6 inches) need a patch for backing. Large holes (over 6 inches) need a proper drywall patch with wood backing. Also check for wires or pipes behind the damage before cutting — if the hole is near an outlet or switch, shine a flashlight in and look before you enlarge anything. If you see wiring, stop and reassess; cutting into a wire turns a drywall job into an electrical hazard.
Tools and materials
- For all sizes: utility knife, putty knives (4-inch and 6-inch), sanding sponge (120 and 220 grit), primer, and matching paint.
- Small holes: lightweight spackle or joint compound.
- Medium holes: self-adhesive mesh patch or a California patch (drywall with paper flanges).
- Large holes: a piece of drywall (match your wall thickness — usually 1/2 inch), 1×3 wood furring strips, drywall screws, paper joint tape, and all-purpose joint compound.
- Dust mask — sanding drywall compound creates fine dust you do not want in your lungs.
Small holes: spackle and done
For nail holes, screw holes, and small dings: press lightweight spackle into the hole with your finger or a putty knife, slightly overfilling. Wipe flush with the putty knife held at a low angle — the goal is filler in the hole, not a mound on top. Let it dry completely (it changes color from pink or gray to white, depending on brand), then sand lightly with 220 grit until flush. One thin coat is better than one thick coat; if it shrank as it dried, apply a second thin skim. Prime the spot before painting — spackle absorbs paint differently than the surrounding wall, and skipping primer leaves a visible dull spot called “flashing.”
Medium holes: the mesh or California patch
For holes between 1 and 6 inches, filler alone will crack and fall through — you need a patch with backing.
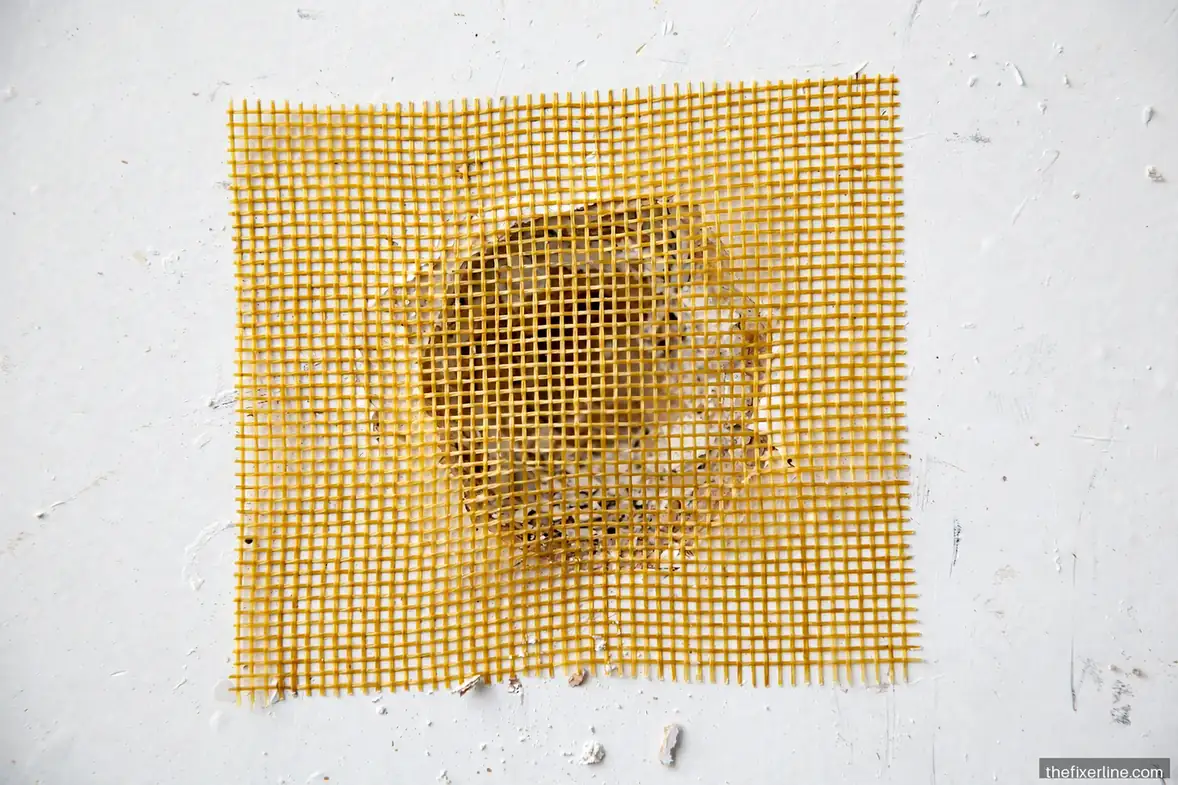
Self-adhesive mesh patch
Peel and stick the mesh square centered over the hole, pressing the edges flat. Then spread joint compound over the mesh with a 6-inch knife, feathering the edges out 2–3 inches beyond the patch. The first coat will look rough — that is fine. Let it dry fully (several hours), then apply a second, thinner coat, feathering wider. Sand smooth when dry.
California (hot) patch
Cut a square of drywall 2 inches larger than the hole on each side. From the back, score and peel away the gypsum, leaving a 2-inch paper flange around a plug that fits the hole. Test-fit, then butter the flange’s back with joint compound, press the plug into the hole, and smooth the flange flat against the wall. Coat over the whole patch, feathering wide. The paper flange bonds beautifully and creates a nearly invisible repair — many pros prefer this over mesh for medium holes.
Whichever method you use, the secret to invisibility is feathering: each coat of compound should extend a little wider than the last, creating a gradual transition instead of a visible edge. A patch that is perfectly flat but has a hard edge will show; a patch feathered over 8–10 inches disappears.
Large holes: the wood-backing method
For holes larger than about 6 inches, you need structural backing:
- Square up the hole. Use a drywall saw or utility knife to cut the damaged area into a clean rectangle. Mark stud locations — ideally your patch edges land on studs, but backing strips make that optional.
- Install backing. Cut 1×3 wood strips a few inches longer than the hole’s height. Slip them inside the wall, hold them against the back of the drywall, and drive drywall screws through the existing drywall into the strips (one or two screws per side). The strips now bridge the hole.
- Cut and fit the patch. Cut a drywall piece to fit the rectangular hole snugly (1/8-inch gap is fine). Screw it to the wood backing with drywall screws, sinking the heads just below the surface without tearing the paper.
- Tape the seams. Apply a thin bed of joint compound over each seam, press paper tape into it, and smooth with the knife, squeezing out excess compound and air bubbles.
- Coat, dry, repeat. Apply two to three thin coats of compound, each wider than the last, letting each dry fully (12–24 hours for thick coats). Sand between coats with 120 grit, final sand with 220.
Mudding and sanding: where patches succeed or fail
Joint compound work is 90% patience. Thin coats dry faster, shrink less, and sand easier than thick ones — a thick coat that looks good wet will crack and crater as it dries. Drying time depends on humidity and thickness; in damp weather, run a fan (not a heater — heat can crack the surface while the inside stays wet).
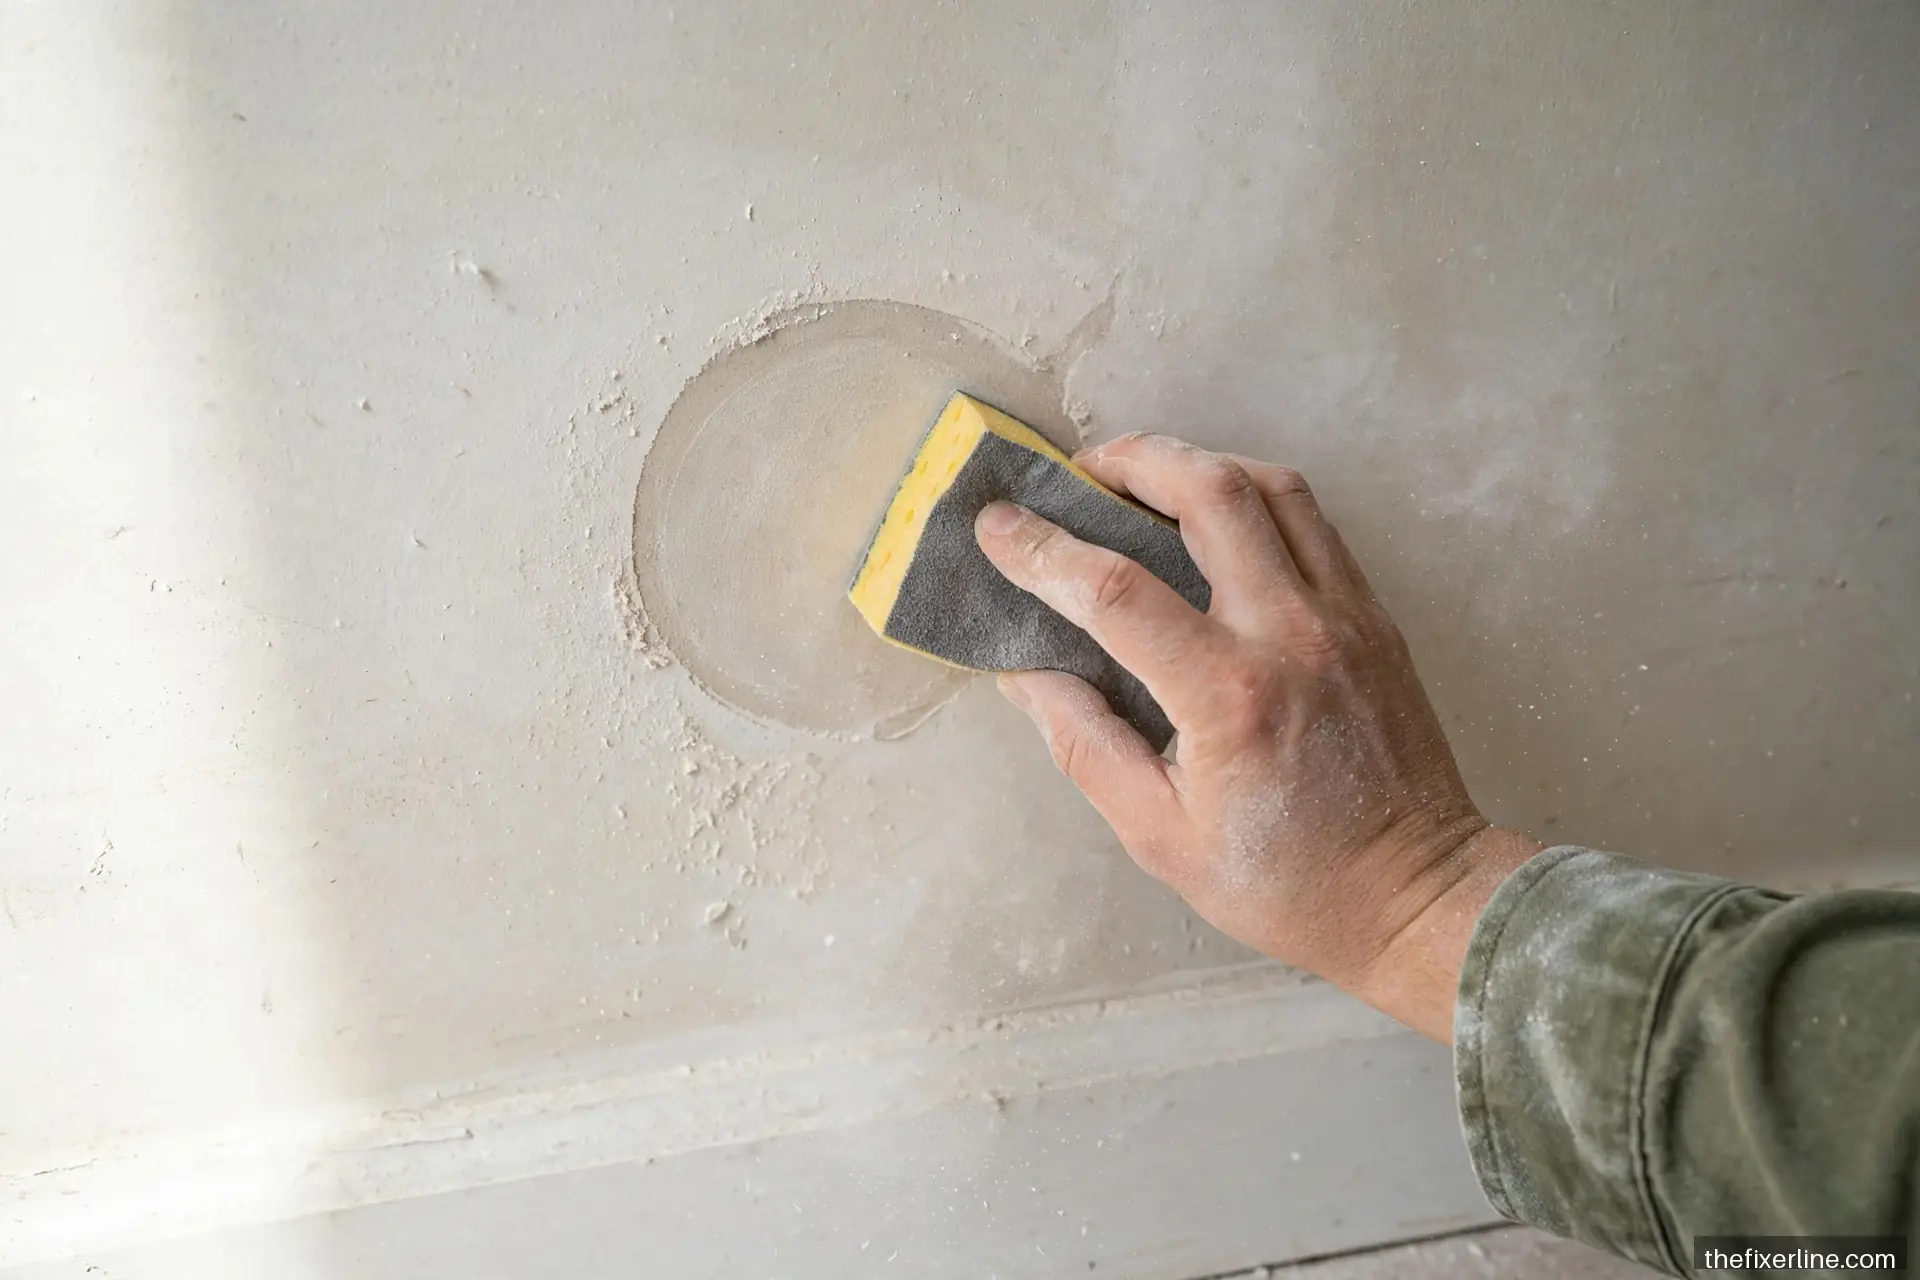
When sanding, use a sanding sponge rather than loose sandpaper — it conforms to the wall and is easier to control. Sand with light pressure in broad strokes, and frequently run your hand over the patch with your eyes closed; your fingertips detect ridges your eyes miss. Wipe dust off with a damp cloth before priming. Wear the dust mask for all sanding — joint compound dust is a respiratory irritant.
Matching wall texture
A perfectly flat patch on a textured wall still stands out. For light orange-peel texture, spray texture in a can (practice on cardboard first) or thin some joint compound and stipple it with a brush or sponge. For knockdown texture, spray and then lightly flatten with a knife after a few minutes. Match the surrounding texture before priming and painting. This step separates amateur patches from invisible ones.
Priming and painting
Always prime patched areas — joint compound and spackle are more porous than painted drywall, and paint applied directly will look dull and uneven (flashing). Use a quality primer, let it dry, then paint. For small patches, “feather” the paint a few inches beyond the primer to blend. For large patches, painting the entire wall corner-to-corner gives the most uniform result; touch-up paint rarely matches perfectly due to fading and sheen differences. If you are repainting the room anyway, our guide to painting a room like a pro covers the full process.
Common patching mistakes (and how to avoid them)
Most failed patches trace back to a handful of avoidable errors. Skipping the cleaning step: dust, grease, or loose paint on the wall around the hole prevents the compound from bonding — wipe the area with a damp cloth first. Using the wrong product: lightweight spackle on a taped seam, or setting-type compound confusion — remember, regular premixed compound is fine for most homeowner repairs; setting-type (powder) compound dries chemically and is harder to sand, useful only when you need speed. Sanding too aggressively: bearing down with coarse paper creates a depression around the patch that shows through paint — let the abrasive do the work with light pressure. Painting before full dry: compound that looks dry on the surface may still be damp underneath; painting over it traps moisture and causes bubbling or peeling within weeks. Ignoring the cause: patching a hole made by a door handle without installing a door stop guarantees a repeat performance. Fix the cause, then the symptom.
Timing a large repair across two days
A large patch is realistically a two-day project, and planning for that removes the temptation to rush drying times. Day one: cut, back, tape, and apply the first coat — then walk away. Day two: sand the first coat, apply the second (and third if needed), final sand, texture, prime, and paint. Trying to compress this into one day means recoating damp compound, which is the single biggest cause of cracked, bubbled patches. If you are patching multiple holes, batch the work: do all the cutting and backing in one session, all the first coats together, and so on. Your future self, looking at an invisible repair, will thank your patient past self.
Frequently asked questions
How long does joint compound take to dry?
Thin coats: 2–4 hours in normal conditions. Thick coats or humid weather: up to 24 hours. The compound changes color as it dries (darker when wet). Do not sand or recoat until it is uniformly light and dry all the way through — recoating over damp compound traps moisture and causes bubbling.
Spackle vs. joint compound — which should I use?
Lightweight spackle for small holes: it dries fast, shrinks little, and sands easily. All-purpose joint compound for medium and large patches: it is stronger, bonds tape better, and feathers more smoothly. Do not use spackle for taped seams — it lacks the strength and adhesion.
My patch cracked after a month. What went wrong?
Usually one of three things: the compound was applied too thick and shrank; the patch had no proper backing and flexed; or the underlying cause (a door hitting the wall, settling) was not addressed. Fix the cause, then redo the patch with proper backing and thin coats. For recurring cracks at wall-ceiling joints or door frames, see how to fix nail pops and drywall cracks.
How do I match the existing paint color?
Take a chip (a quarter-sized piece from an inconspicuous spot) to a paint store for computer color matching. Even with a match, sheen matters as much as color — eggshell vs. satin will show. When in doubt, repaint the full wall.
What to read next
Once the patch is invisible, protect your work: how to fix a door that sticks stops the door-slam damage cycle, and hanging heavy items on drywall shows how to mount things without creating new holes.
Safety note: This article is general information, not professional contractor advice. Wear a dust mask when sanding, check for wiring before cutting into walls, and call a pro if damage involves structural elements or water intrusion.