Those small round bumps pushing through your paint — nail pops — and the thin cracks tracing along ceilings and corners are among the most common cosmetic complaints in any home. In most cases they are harmless: the result of wood framing drying and shifting, seasonal movement, or original fasteners working loose. They are also straightforward to fix permanently, provided you address the cause rather than just the symptom.
This guide explains why nail pops and cracks happen, how to fix nail pops so they do not come back, how to repair hairline cracks properly, and — critically — how to recognize the crack patterns that signal structural problems requiring a professional assessment.
Why nail pops happen
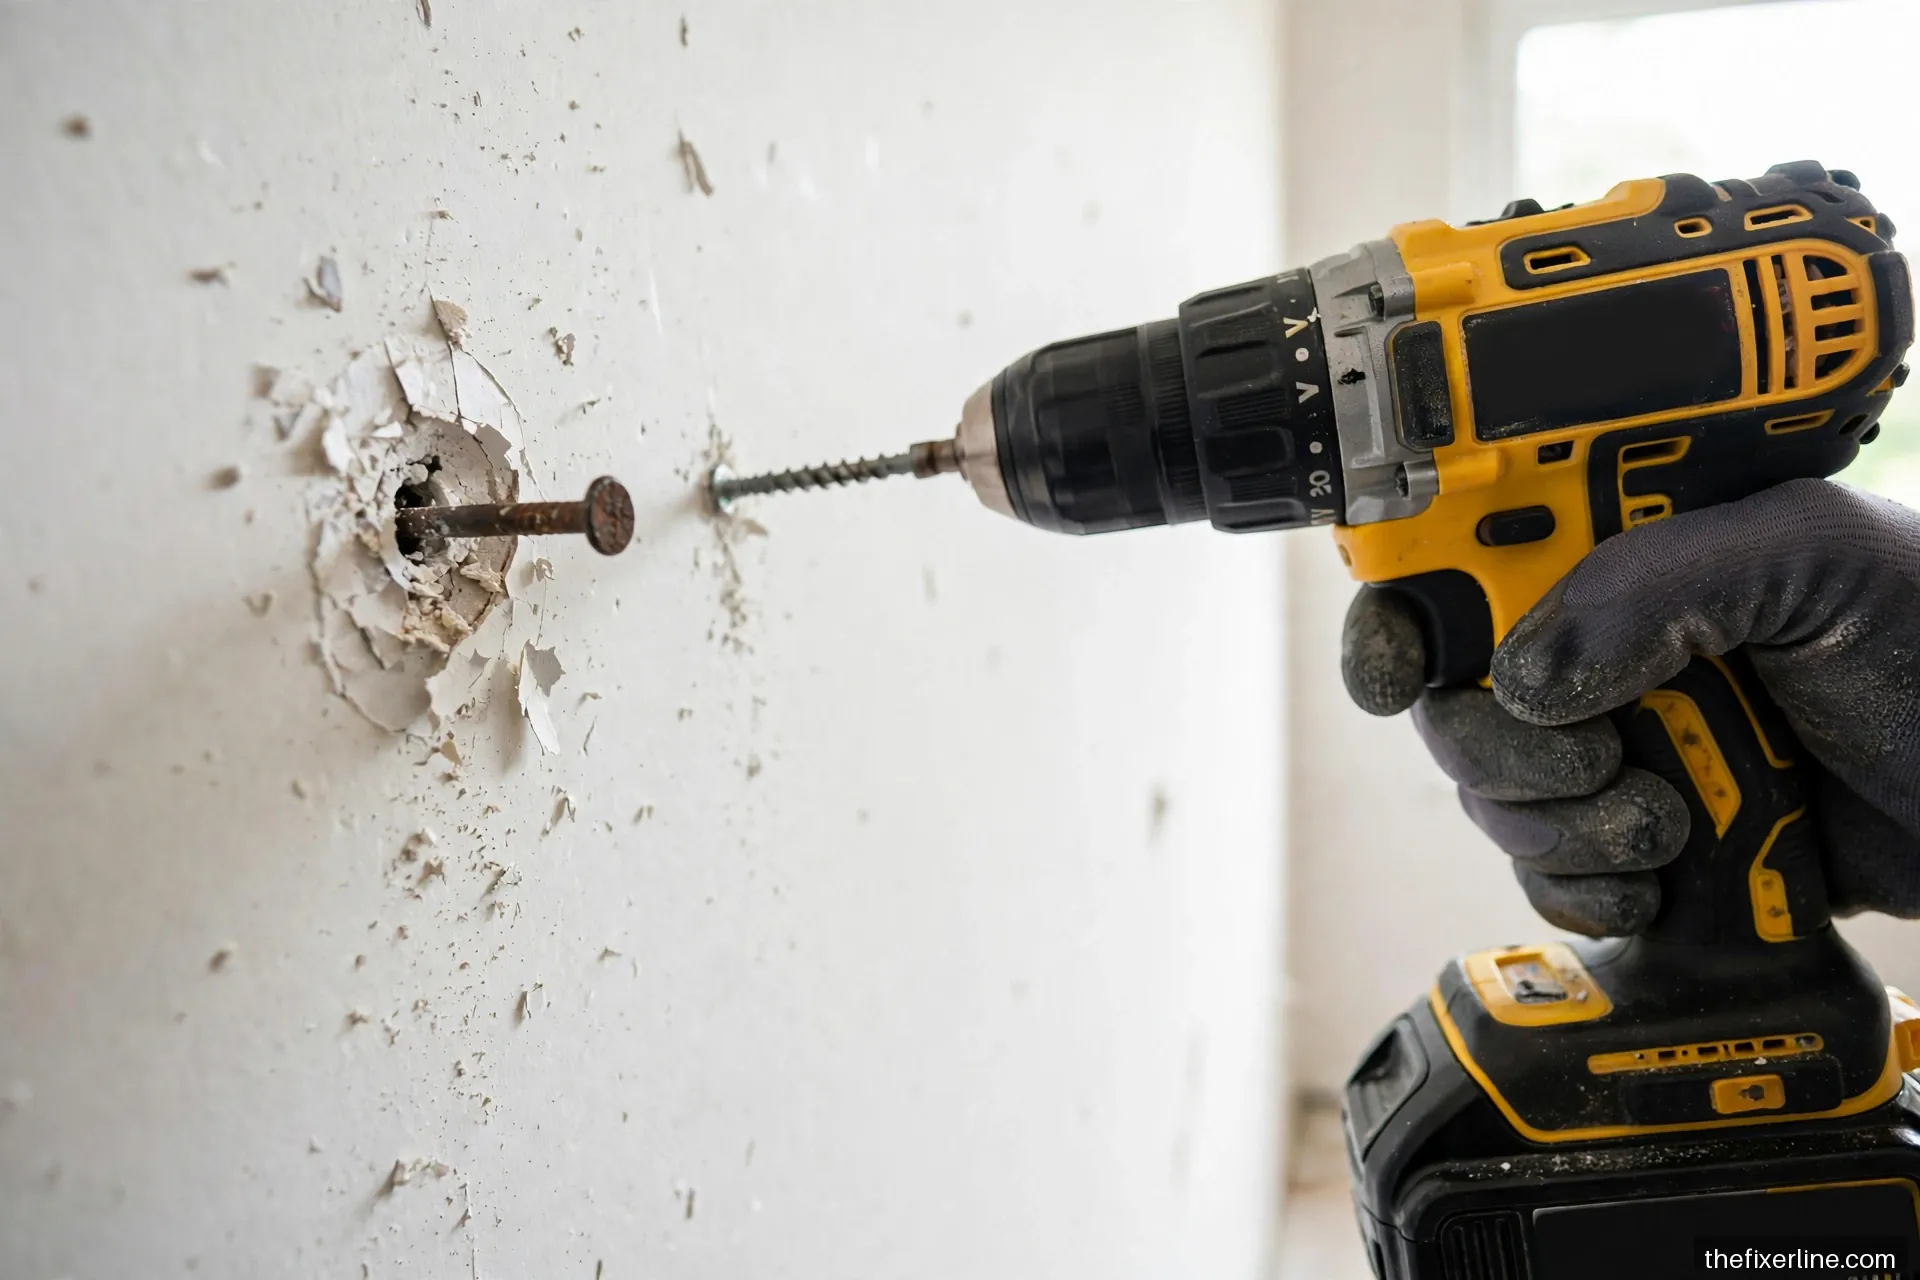
Drywall is fastened to wood studs with nails or screws. As framing lumber dries out over the first years after construction (and continues to move seasonally with humidity changes), the wood shrinks slightly while the fastener stays put — the nail head ends up proud of the drywall surface, pushing the compound and paint outward into a telltale bump. Poor initial fastening accelerates it: a nail driven at an angle or not fully set will work loose faster. Homes in climates with big humidity swings see more pops, and they often appear in clusters along a single stud or ceiling joist.
The key insight: a nail pop is a loose fastener, not just a cosmetic bump. Simply sanding it flat or smearing compound over it guarantees a return visit — the nail will keep moving. The permanent fix re-secures the drywall.
Fixing nail pops permanently
- Locate the stud. The pop marks the fastener; the stud runs vertically (walls) or across (ceilings) through it.
- Drive drywall screws above and below. Place a 1-1/4 inch drywall screw about 1 inch above the popped nail and another 1 inch below it, driving them into the stud until the heads sit just below the paper surface (dimpled, not torn). These screws re-secure the drywall panel to the framing.
- Deal with the old nail. If the nail head protrudes, tap it back flush with a hammer and nail set — or better, pull it out entirely with pliers now that the screws hold the panel. Removing it eliminates the chance of a repeat pop at that spot.
- Fill and finish. Cover the dimples and the old nail hole with two thin coats of joint compound, letting each dry. Sand smooth with 220 grit, prime, and paint. For paint matching tips, see our drywall patching guide.
Do this for every pop you find, not just the worst one — pops along the same stud often share a cause, and fixing them in one session (one round of priming and painting) is far more efficient than five separate touch-ups over a year.
Hairline cracks: causes and repairs
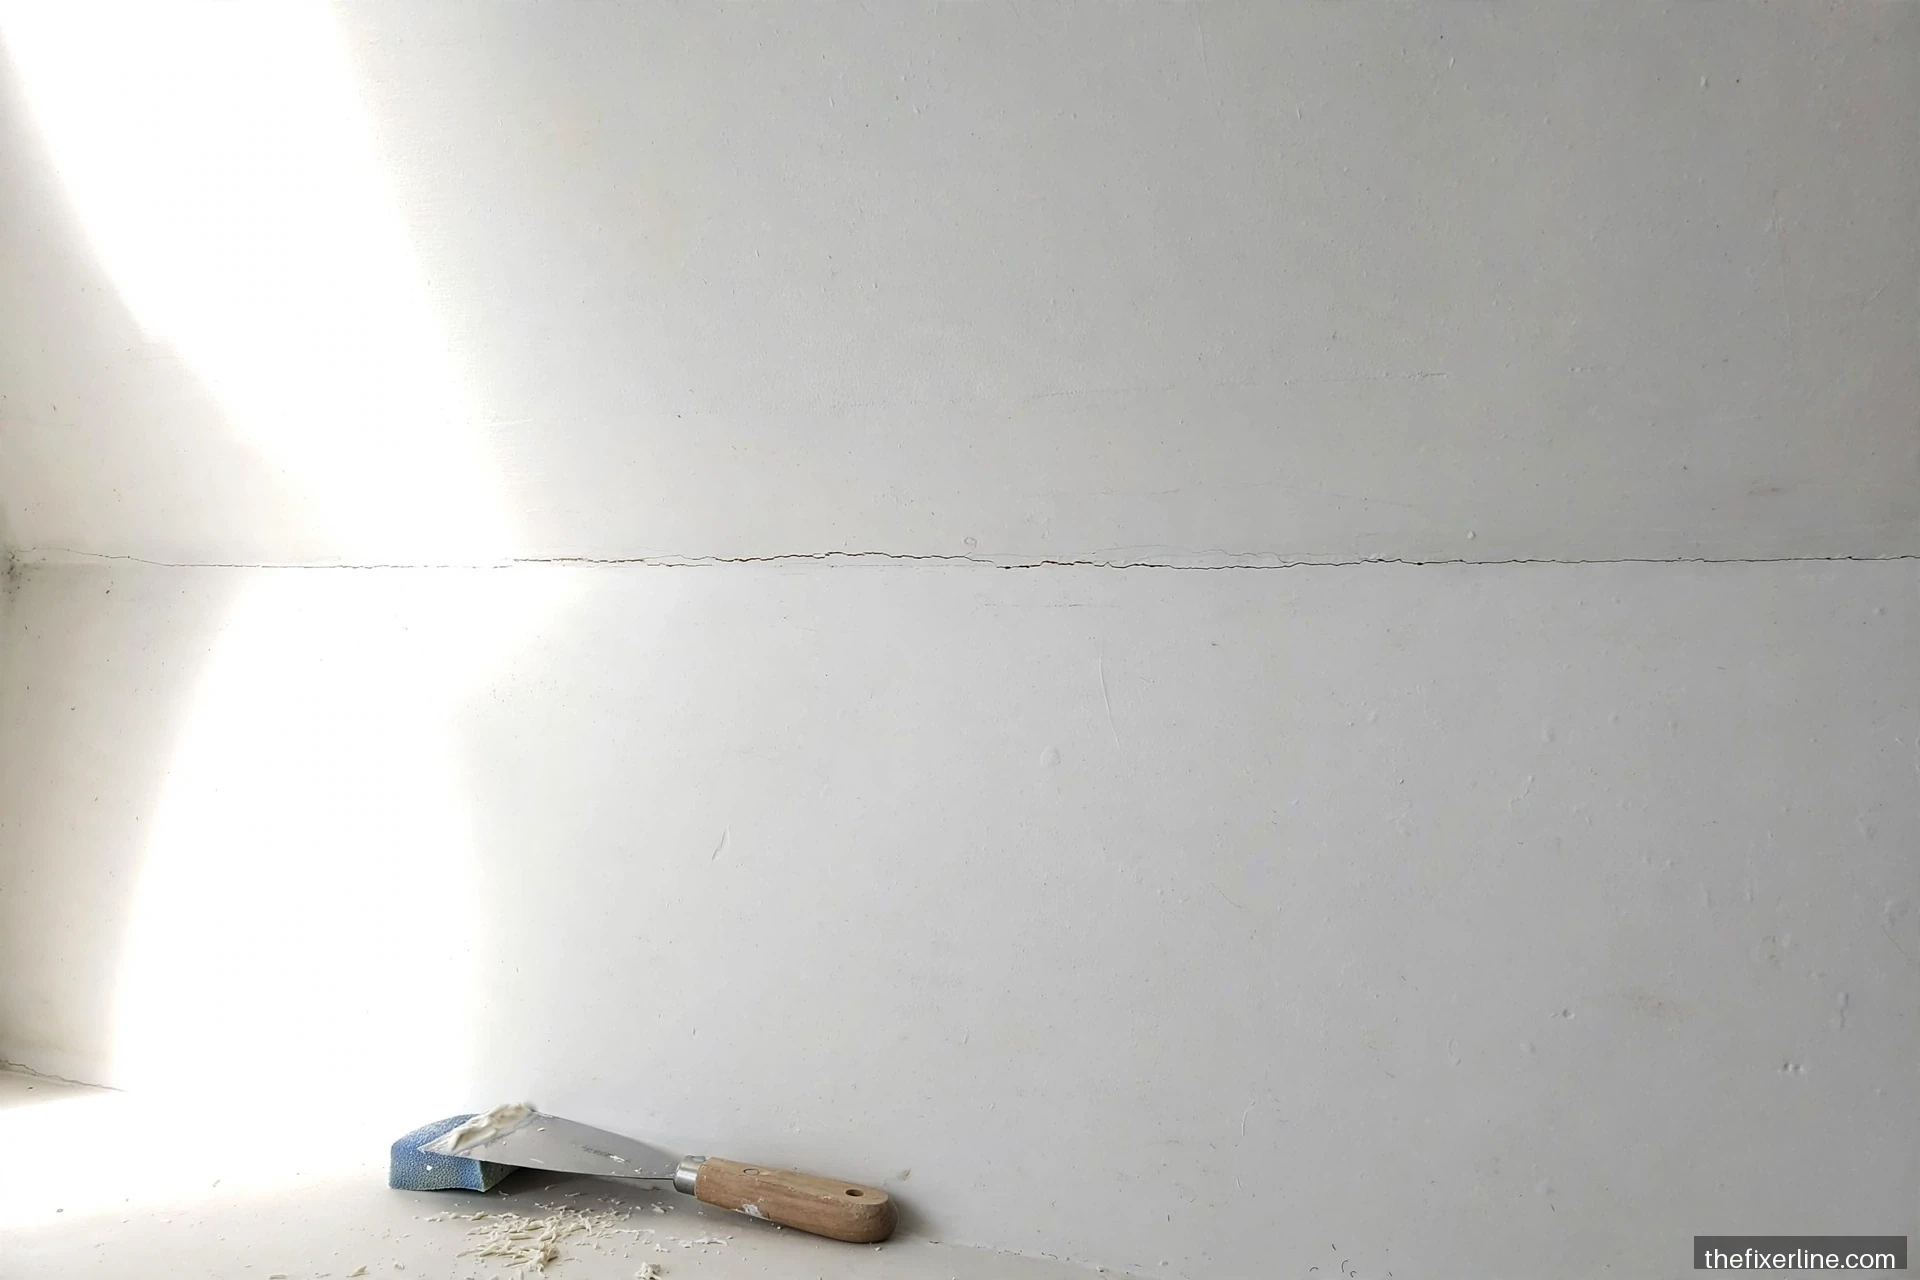
Thin cracks (under 1/16 inch) at wall-ceiling joints, inside corners, and above door and window frames are usually the result of normal house movement — seasonal expansion and contraction, minor settling, or the different movement rates of dissimilar materials (drywall vs. wood trim). They are cosmetic and very fixable.
The proper repair method
Do not just caulk over a drywall crack and paint — it will reopen. The durable method:
- Open the crack slightly with a utility knife, cutting a shallow V groove along its length. This gives the filler something to grip.
- Clean out loose material with a brush.
- Fill with joint compound (for flat wall/ceiling cracks) pressed firmly into the groove, or use a flexible crack-repair product for corners that move seasonally.
- Tape wide or recurring cracks: for cracks that have reopened before, bed paper tape or self-adhesive mesh over the crack in compound — the tape bridges the movement.
- Feather, sand, prime, paint as with any drywall repair.
For inside corners that crack every winter and close every summer, consider a flexible paintable caulk instead of rigid compound — it moves with the joint. But use this only for true inside corners, not for cracks in the middle of a wall, where flexibility signals a different problem.
Crack patterns that are warning signs
Most cracks are cosmetic, but some patterns warrant professional evaluation. Call a structural engineer or experienced contractor (not just a handyman) if you see:
- Diagonal cracks running from the corners of doors or windows toward the ceiling or floor — especially if they are wider than 1/8 inch or growing.
- Stair-step cracks in brick, block, or foundation walls — classic settlement pattern.
- Horizontal cracks in foundation walls, or any crack with one side displaced relative to the other (you can feel a lip).
- Cracks accompanied by sticking doors/windows that recently got worse, sloping floors, or gaps opening between walls and ceilings.
- Any crack you can fit a coin into (roughly 1/8 inch or wider) that is actively growing — mark the ends with pencil and date them, then check monthly.
This is not meant to alarm you — the vast majority of hairline cracks are benign. But knowing the difference between “normal movement” and “get an assessment” is exactly the kind of judgment that protects your home’s value and your family’s safety. When in doubt, a structural engineer’s evaluation (illustratively, a few hundred dollars in many markets — prices vary by region) is cheap insurance against guessing wrong.
Ceiling cracks: special considerations
Cracks in drywall ceilings deserve extra attention because gravity is involved. Hairline cracks along taped seams are usually truss uplift — roof trusses lifting slightly in winter, pulling the ceiling drywall with them — and are cosmetic. But a ceiling crack with sagging, bulging, or water staining is different: it may indicate a failed tape joint, water damage from above, or in rare cases a structural issue. Press gently around the crack: if the drywall feels soft or moves, do not just patch over it — find the cause first. Water stains especially demand investigation of the source (roof, plumbing above) before any cosmetic repair, since patching over an active leak just hides growing damage.
Preventing pops and cracks
You cannot stop a house from moving, but you can reduce the cosmetic fallout. Maintain relatively stable indoor humidity (wild swings stress every joint in the house). When hanging heavy items, use proper anchors rather than relying on a single nail in drywall — a falling shelf tears out fasteners and creates new pops nearby; see how to hang heavy items on drywall. During any drywall work, use screws rather than nails — screws hold dramatically better and are the reason modern homes pop less than older ones. And address small cracks promptly: a hairline crack left for years can widen as seasonal cycles work it, turning a 20-minute repair into a taping job.
Settling vs. structural: a practical framework
Every house settles — the question is whether the settling has finished or is ongoing and uneven. Normal settling produces small, stable, symmetric patterns: hairline cracks above a few door frames, minor pops along ceiling joists, all appearing in the first years and then stabilizing. Concerning movement produces asymmetric, progressive patterns: cracks that are visibly wider at one end, doors that gradually stop latching over months, or cracks that reopen within weeks of a proper repair. The pencil-and-date method is your best diagnostic tool: mark both ends of any suspect crack with the date, then check monthly. A crack that does not grow over two full seasonal cycles is almost certainly stable and cosmetic. One that grows steadily deserves a professional look — and the dated marks give the engineer genuinely useful data about the rate of movement.
The right repair sequence for a room full of pops and cracks
If an entire room needs attention, work in this order for efficiency. First, mark every pop and crack with painter’s tape flags so you do not miss any. Second, do all the structural work at once: drive screws for every pop, V-groove every crack. Third, apply first-coat compound to everything in one batch — by the time you finish the last one, the first is closer to dry. Fourth, second coats and sanding, again batched. Finally, prime everything at once and paint the full walls (not just touch-ups) for a uniform finish. Batching turns a weekend of scattered touch-ups into one organized project with one cleanup, one round of dust, and a result that looks like a professional refresh rather than a collection of patches.
Frequently asked questions
Can I just paint over nail pops?
Paint will not hold a popped nail down — the bump will telegraph through within months as the fastener continues moving. The screw-and-fill method takes only a few minutes more per pop and is permanent. If you are already repainting, fix all pops first; it is the ideal time.
How many screws do I need per nail pop?
Two — one above and one below the popped nail, each about an inch away, driven into the stud. This sandwiches the loose area and re-secures the panel. For a cluster of pops along one stud, you can sometimes share screws between adjacent pops, but when in doubt, use two per pop.
My house is only two years old and already has pops. Is something wrong?
Almost certainly not. The first 2–5 years are peak nail-pop season as framing lumber finishes drying and the house settles into its site. Many builders even include a one-year cosmetic touch-up for exactly this reason — check your warranty before DIYing. After the initial drying period, new pops should slow dramatically.
Can I use caulk instead of joint compound for cracks?
For inside corners that move seasonally, paintable flexible caulk is actually the better choice. For cracks in flat wall or ceiling surfaces, no — caulk shrinks, cannot be sanded flush, and looks obvious. Use joint compound (plus tape for stubborn ones) on flat surfaces. Our caulking guide covers where caulk belongs and where it does not.
What to read next
For bigger wall damage, see how to patch drywall holes; for cracks near trim and windows, weatherstripping doors and windows addresses the drafts that often accompany frame movement.
Safety note: This article is general information, not professional contractor advice. Cosmetic cracks are DIY-friendly, but diagonal, growing, or foundation cracks warrant a structural professional’s assessment — do not guess on structural issues.