Popcorn ceilings — that bumpy cottage-cheese texture sprayed on millions of ceilings from the 1950s through the 1980s — are one of the most dated features in older homes. Removing the texture for a smooth, modern ceiling is a popular DIY project, and for the right ceiling it is very doable. But there is one non-negotiable first step that too many tutorials bury in the fine print: testing for asbestos.
This guide walks you through the safety assessment, the testing process, the wet-scrape removal method for asbestos-free ceilings, the finishing work, and the situations where you should hire a certified asbestos abatement professional instead of doing it yourself. Read the safety section before you buy a single tool.
Step zero: asbestos testing (non-negotiable)
Popcorn texture applied before the early 1980s may contain asbestos — in some products up to a small percentage by weight, which is enough to be hazardous when disturbed. Asbestos fibers are dangerous when airborne; intact, undisturbed texture is generally not an immediate hazard, but scraping releases fibers into the air you breathe. This is the rare DIY topic where the safety warning is not boilerplate.
Get it tested. Collect a small sample (wet the area first to minimize dust, wear a P100 respirator and gloves) or — better — hire a professional to collect it, and send it to an accredited lab. Testing is inexpensive (illustratively, on the order of tens of dollars per sample in many markets — prices vary). Do not skip this because “the house was built in 1985, probably fine” — old stock was used for years after manufacturing stopped, and “probably” is not a safety standard. If the test comes back positive, stop: asbestos removal is regulated work in most jurisdictions, and DIY removal can create legal liability as well as health risk. Hire a licensed asbestos abatement contractor.
The rest of this guide applies only to ceilings that have tested negative for asbestos (or were verifiably applied after asbestos was phased out). Even then, wear a P100 respirator — old texture contains plenty of non-asbestos dust you do not want in your lungs.
Assessing whether your ceiling is a good DIY candidate
Not all popcorn ceilings scrape equally. Test a small inconspicuous area first: mist it with water from a pump sprayer, wait 10–15 minutes, and try scraping with a putty knife. If the texture softens and comes off in satisfying sheets, you have an unpainted ceiling — the ideal DIY case. If it barely budges, the texture has likely been painted over, which seals it against water and makes scraping dramatically harder. Painted popcorn can still be removed, but it is slow, miserable work — many homeowners reasonably decide to cover it instead (see below).
Also check what is underneath. In most homes it is standard drywall, ready for finishing. In some older homes, the texture may be hiding damaged drywall or covering seams that were never properly taped — you will discover this as you scrape, so budget mentally for extra finishing work.
Tools and materials
- P100 respirator (not a paper dust mask), safety goggles, disposable coveralls.
- Pump garden sprayer for wetting the texture.
- Wide putty knives or a drywall taping knife (10–12 inches) — wider blades cover faster.
- Ladder or scaffold plank — stable footing matters more than reach.
- Plastic sheeting and painter’s tape — cover everything; this is an astonishingly messy job.
- Joint compound, sanding sponge, primer, ceiling paint for finishing.
- Bright work light held at an angle — raking light reveals every imperfection in the finish.
Preparation: contain the mess
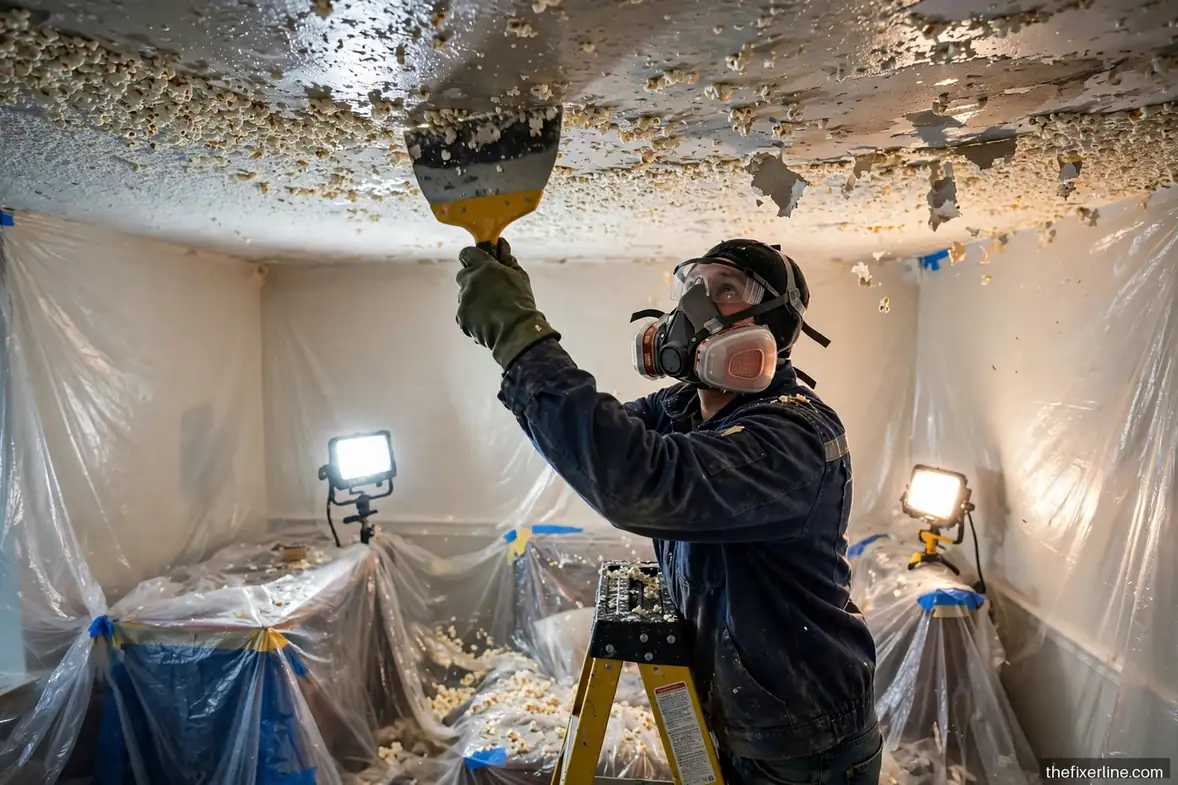
Remove all furniture from the room (or pile it in the center and tent it with plastic). Cover the floor wall-to-wall with plastic sheeting, taped at the edges. Seal doorways with plastic, turn off the HVAC for the room (cover the vents), and remove ceiling fixtures or cover them. The texture comes down wet and heavy — think oatmeal avalanches — and it gets everywhere despite your best efforts. Dress for it: coveralls, goggles, respirator, and a hat.
The wet-scrape method, step by step
- Work in sections. Mist a 4×4-foot section generously with water — not dripping, just well dampened. Wait 10–15 minutes for it to soak in.
- Scrape with the wide knife held at a shallow angle, using smooth overlapping strokes. Let the tool do the work; gouging the drywall underneath creates finishing work later.
- Do not over-wet. Soaking the drywall paper itself weakens it. If water is running down, you have used too much — back off and let it absorb.
- Re-mist as needed. Sections dry out; a second light misting keeps the texture soft.
- Collect as you go. Let the scraped texture fall onto the floor plastic, then roll it up in sections for disposal. Check local rules for disposal — even asbestos-free texture should be bagged, not blown around the neighborhood.
Pace yourself: a single room is a full weekend for most DIYers. Your neck and shoulders will remind you why pros charge for this.
Finishing: from scraped to smooth
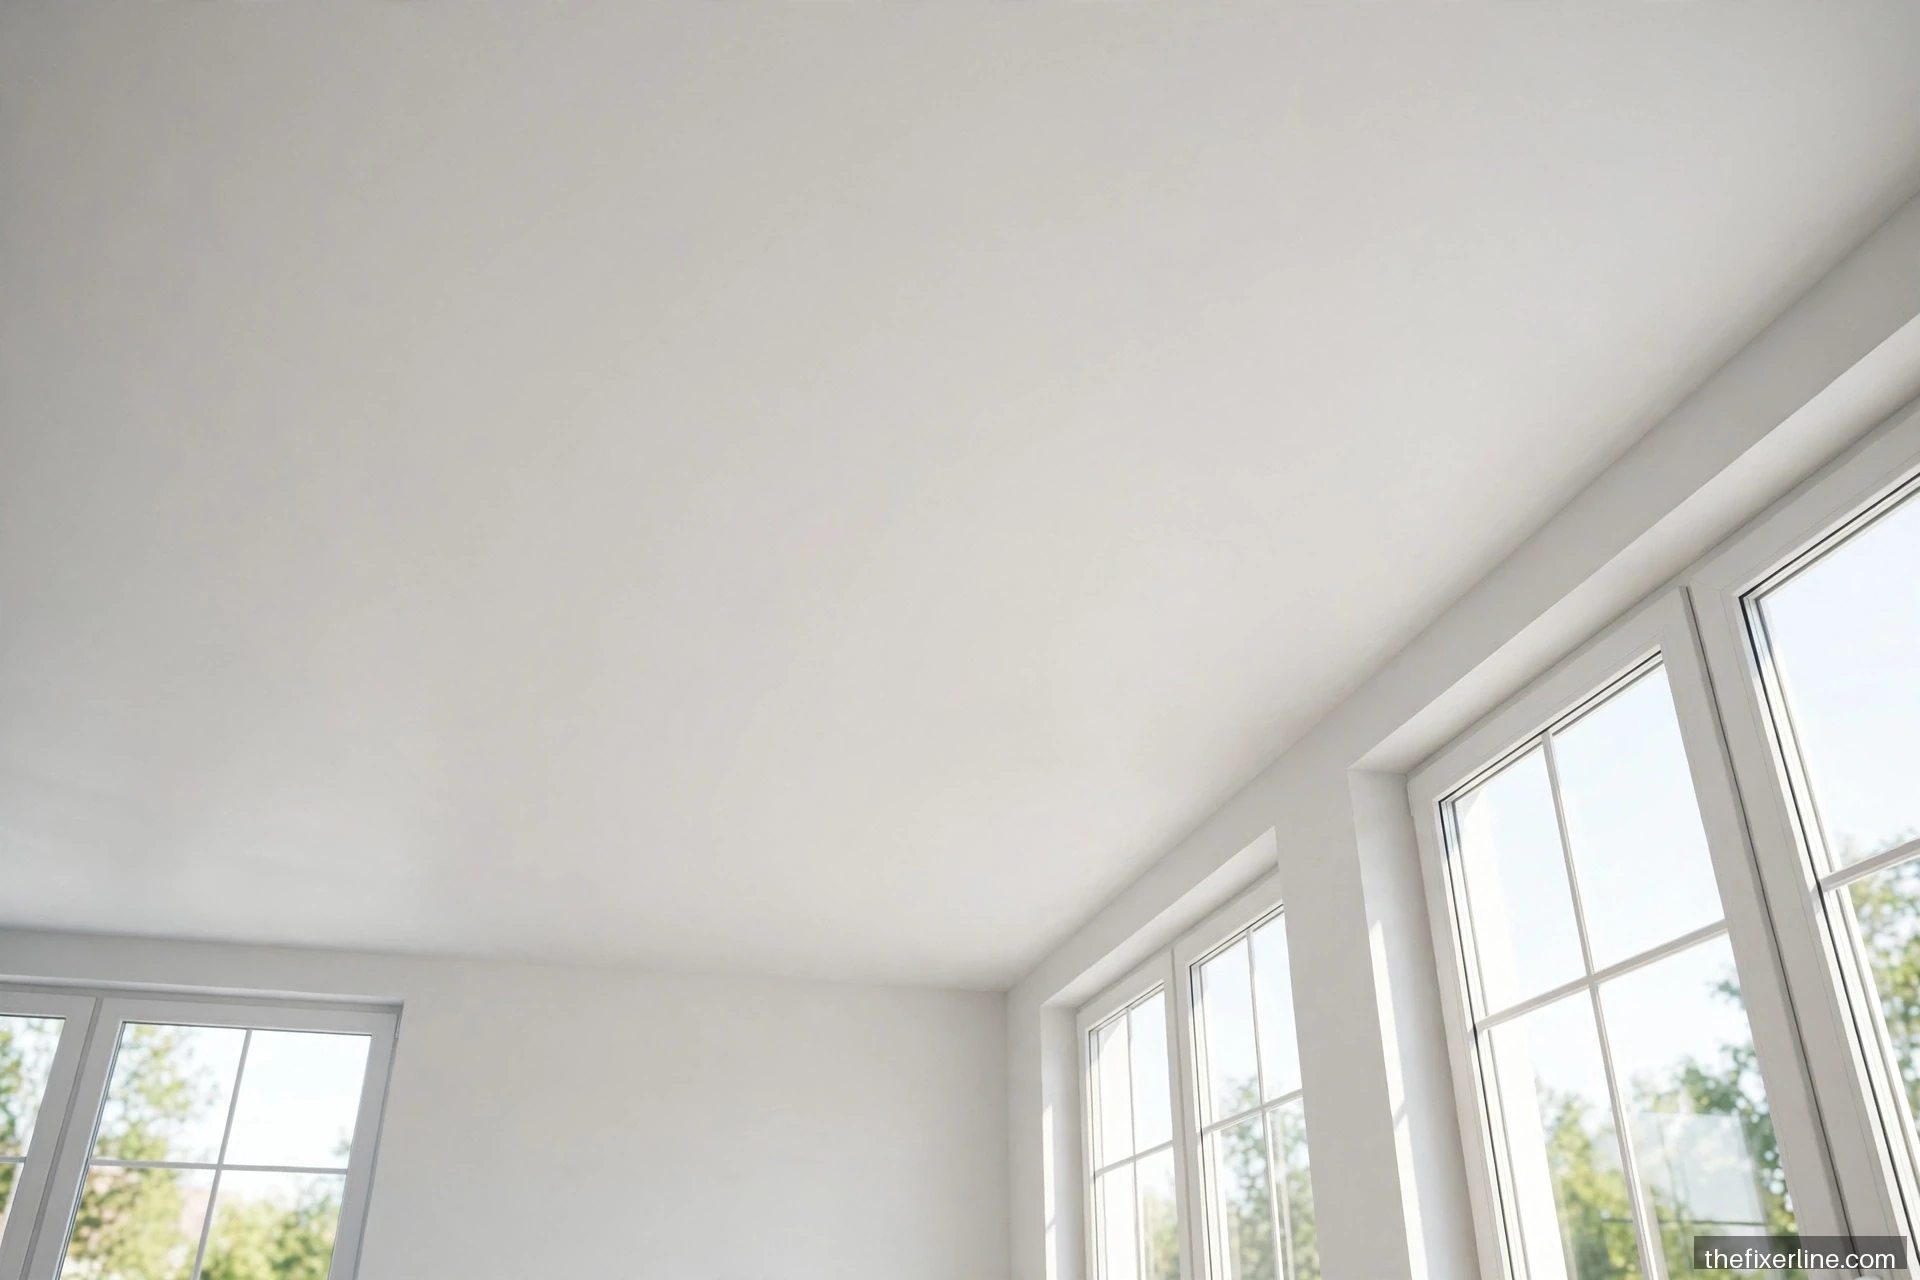
Scraping reveals the raw drywall underneath, which was never finished to a visible standard — expect visible seams, screw dimples, and gouges. This is normal, and fixing it is straightforward drywall work:
- Scrape off any remaining high spots and wipe down the ceiling.
- Apply joint compound to seams, screw heads, and gouges. Two thin coats, feathered wide, with full drying between.
- Sand smooth (dust mask on), then wipe with a damp cloth.
- Prime the entire ceiling — raw compound and old drywall absorb paint unevenly without primer.
- Paint with two coats of flat ceiling paint. Use raking light from your work light to check for imperfections between coats.
For detailed technique on the mudding and sanding, see our drywall patching guide — the skills are identical, just overhead.
Alternatives to scraping
Scraping is not the only path to a modern ceiling. Covering with new drywall: screwing 1/4-inch or 3/8-inch drywall directly over the popcorn gives a fresh surface with no scraping mess — but it lowers the ceiling slightly, requires extending electrical boxes, and is a two-person job. Skim coating: troweling joint compound directly over the texture to bury it. This works for light texture but is skill-intensive to get flat. Leaving it and painting: a fresh coat of paint on popcorn texture looks dramatically better than yellowed old texture, for a fraction of the effort — a legitimate choice if removal is not in the cards right now. Each option is valid; the “best” one depends on your ceiling’s condition and your tolerance for mess.
When to hire a professional
Hire a licensed asbestos abatement contractor if testing finds asbestos — no exceptions, no “careful DIY.” Beyond asbestos, consider a pro if: the ceiling is painted popcorn that will not scrape (pros have specialized equipment); the area is large (whole-house removal is grueling); you discover water damage or mold under the texture; or the ceiling contains vermiculite insulation above it (also potentially asbestos-containing — do not disturb it). For general guidance on drawing the DIY line, see 10 home repairs you should never DIY.
Dust and debris control during the job
Even on an asbestos-free ceiling, the dust volume from scraping is extreme — fine gypsum and texture particles that infiltrate every room if you let them. Beyond sealing the work room, run a box fan exhausting out a window (sealed around with plastic) to create negative pressure, pulling dust out rather than letting it drift through the house. Change your respirator filters if breathing gets difficult, and shower and change clothes before sitting on upholstered furniture — the dust is insidious. After scraping, do a two-stage cleanup: first collect the bulk debris in bags, then damp-mop or wet-wipe every surface rather than dry-sweeping, which just re-aerosolizes the fines. Your HVAC filter deserves a change after the project too.
Realistic time and budget planning
For planning purposes, treat a standard bedroom as a full weekend of DIY work: one day for prep and scraping, one day for finishing (with drying time stretching into the week). Materials are modest — plastic sheeting, compound, primer, paint, and protective gear illustratively run in the low tens of dollars per room at typical retail, though prices vary by store and region. The real cost is labor and mess tolerance. If you are doing multiple rooms, do not scrape them all before finishing the first: complete one room end-to-end so you learn the rhythm (and discover your ceiling’s quirks) before committing the whole house to chaos. And schedule the work for a season when you can ventilate — open windows make an enormous difference to both dust control and drying times.
Frequently asked questions
How much does professional popcorn ceiling removal cost?
Costs vary enormously by region, ceiling height, and whether asbestos is involved — asbestos abatement multiplies the price several times over because of containment and disposal requirements. Get multiple written quotes from licensed contractors, and be wary of any quote given without an asbestos test on a pre-1980s ceiling.
Can I just paint over popcorn ceiling?
Yes, and it is the lowest-effort improvement available. Use a thick-nap roller, do not over-roll (the texture can slough off when saturated), and apply two coats. It will not look like a smooth ceiling, but fresh white paint transforms a yellowed popcorn ceiling dramatically.
Where do I get asbestos testing done?
Search for accredited asbestos testing laboratories in your area — many accept mailed samples with instructions on their websites. Some home inspectors and environmental consultants also offer sampling services. Keep the lab report with your home records; future buyers and contractors will want to see it.
I rent. Can I remove the popcorn ceiling?
Almost certainly not without written landlord permission — and your landlord will likely say no, because disturbing texture in a rental triggers their asbestos liability. This is a homeowner project. If you are dealing with wall damage in a rental, our nail pop and crack guide covers the small repairs renters usually can do.
What to read next
Ceiling smooth? Finish the transformation with how to paint a room like a pro, and keep walls pristine with how to hang heavy items on drywall.
Safety note: This article is general information, not professional contractor advice. Test for asbestos before disturbing any pre-1980s texture, wear a P100 respirator during removal, and hire licensed abatement professionals for any asbestos-containing material.