The difference between an amateur paint job and a professional one is rarely the paint — it is the preparation. Pros spend most of their time on repairs, sanding, masking, and priming, and relatively little time actually rolling color. Follow the full sequence in this guide and your walls will look like you hired it out, for a fraction of the cost.
We will cover planning and paint calculation, surface preparation (the step everyone wants to skip), priming decisions, the cutting-in and rolling technique, and the cleanup that protects your tools for next time.
Planning: color, finish, and how much paint
Finish matters as much as color. Flat/matte hides wall imperfections but is hard to clean — best for ceilings and low-traffic walls. Eggshell has a soft sheen, cleans reasonably, and suits most living spaces. Satin is more durable and wipeable — the workhorse for kitchens, bathrooms, hallways, and kids’ rooms. Semi-gloss is for trim, doors, and cabinets — and if your cabinet doors need realignment before painting, see adjusting cabinet doors and hinges. Do not use flat paint in a bathroom; moisture will defeat it.
How much to buy: a gallon of paint covers roughly 350–400 square feet per coat on smooth walls (less on textured or porous surfaces). Measure each wall (width × height), subtract large openings roughly, and divide by 350. Plan on two coats for color changes — one coat rarely covers evenly, even with “one-coat” marketing claims. Buy all the paint for the job at once (same batch/tint), plus about 10% extra; running out mid-wall risks a visible shade difference between batches. An average 12×12 room with 8-foot ceilings needs about 2 gallons for two coats of wall color, illustratively — measure your own room rather than trusting rules of thumb.
Preparation: the 80% that determines the result
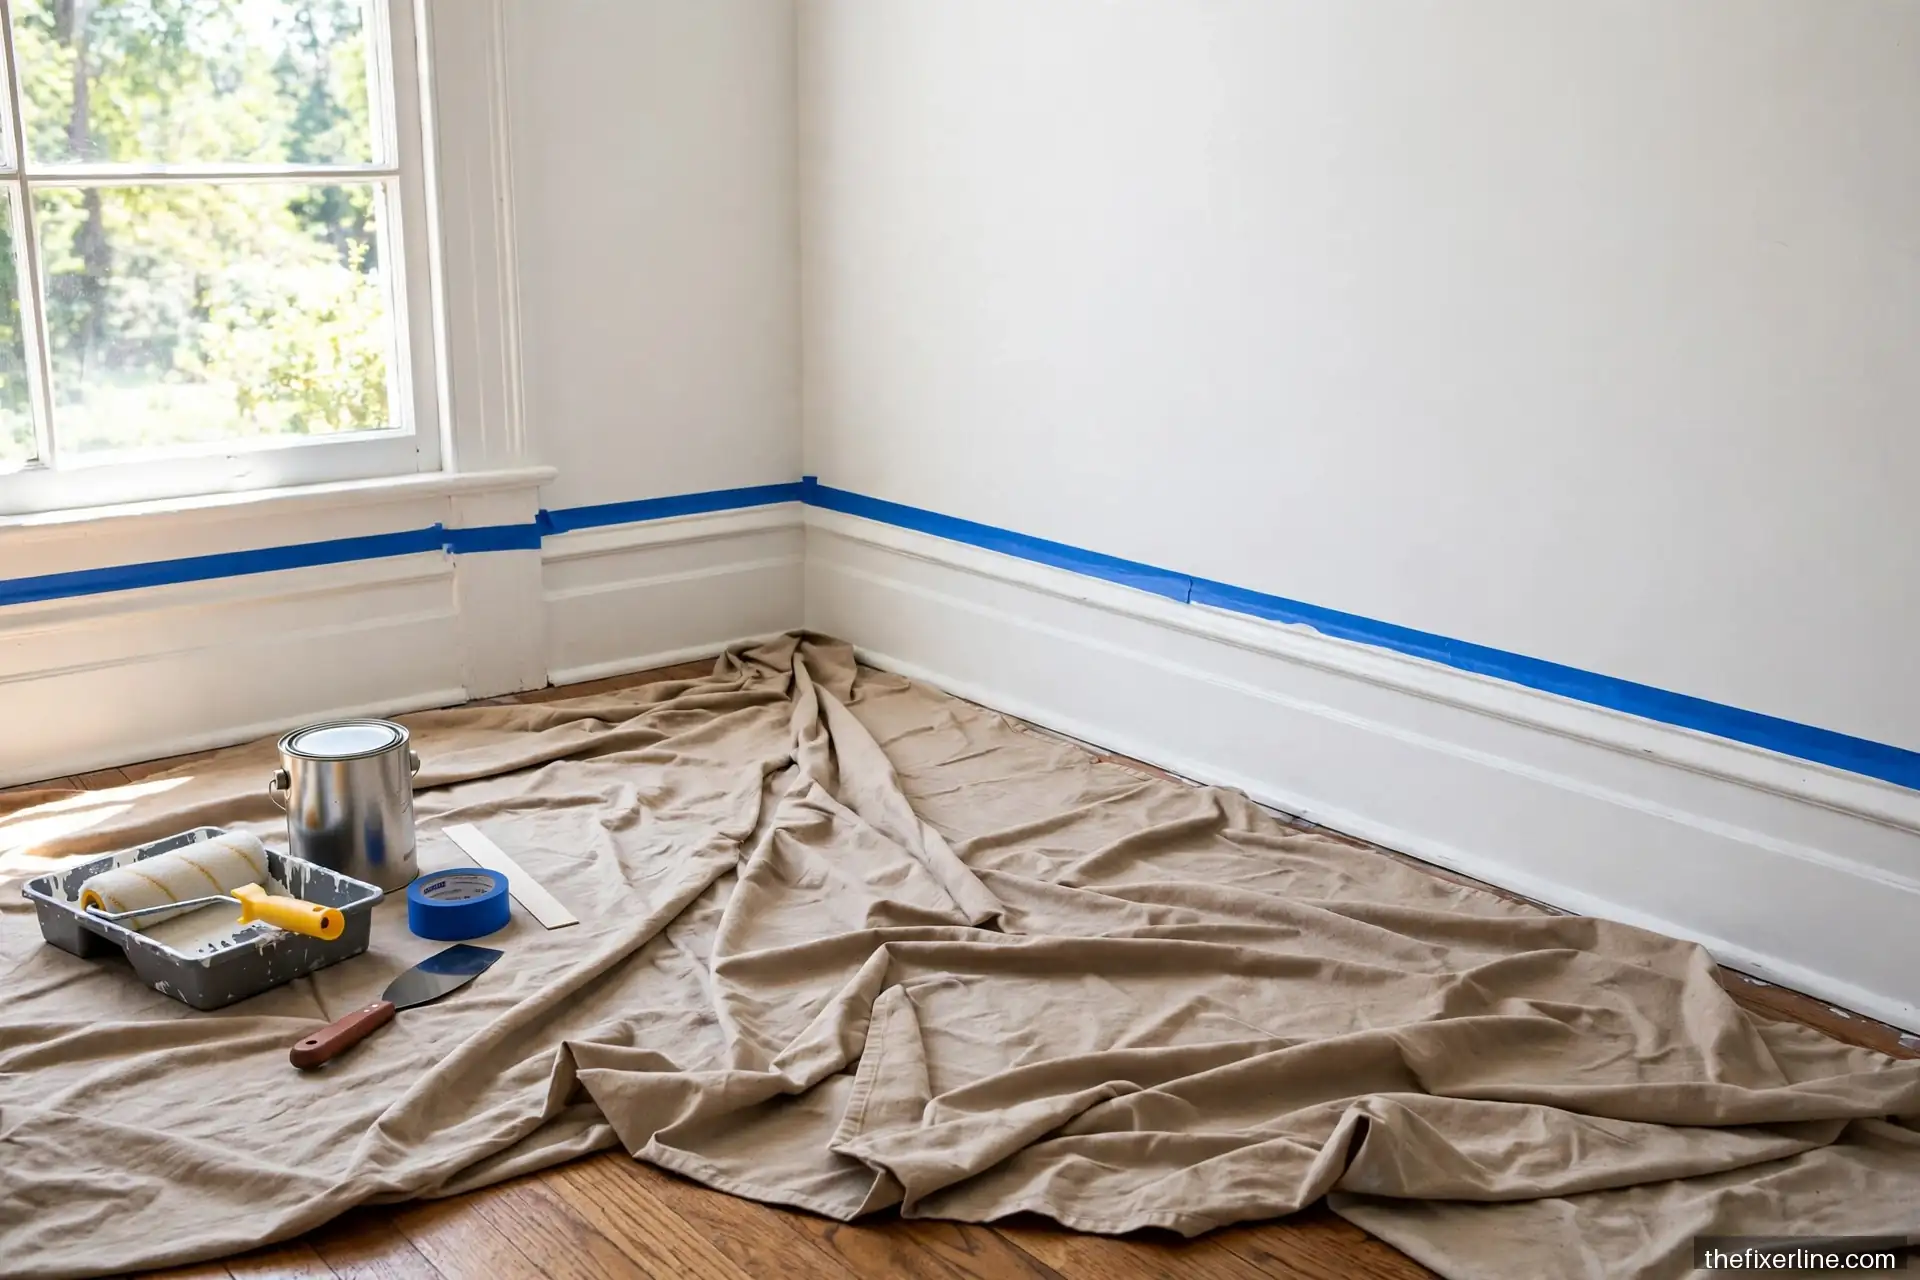
- Clear and protect. Move furniture to the center and cover with drop cloths (canvas, not plastic — plastic is slippery and paint pools on it). Remove outlet and switch covers, curtain hardware, and anything mounted on walls. Tape is for edges, not for protecting large areas.
- Repair the walls. Fill nail holes and dings with spackle, patch larger damage properly (see our drywall patching guide), and caulk gaps where trim meets wall — paint makes every imperfection more visible, not less.
- Clean. Wash walls with a damp cloth or mild detergent solution, especially in kitchens (grease) and bathrooms (hairspray, mildew). Paint does not bond to grime.
- Sand glossy surfaces. Previously glossy paint needs a light scuff-sand (120–150 grit) for the new coat to grip. You are dulling the sheen, not removing the paint.
- Mask precisely. Apply painter’s tape to trim, ceilings, and windows — press the edge down firmly with a putty knife or credit card to prevent bleed. Remove tape while the paint is still slightly tacky (not fully dry) for the cleanest line.
To prime or not to prime
Primer is not optional in these cases: bare drywall or patched spots (they absorb paint unevenly and “flash”); dramatic color changes (especially dark to light); stained or water-damaged areas (use stain-blocking primer); and glossy previous finishes. You can skip separate primer when repainting a similar color over sound, clean, previously painted walls in good condition — quality paint with built-in primer handles that fine. When in doubt, prime: a coat of primer is cheaper than a third coat of finish paint.
Technique: cutting in
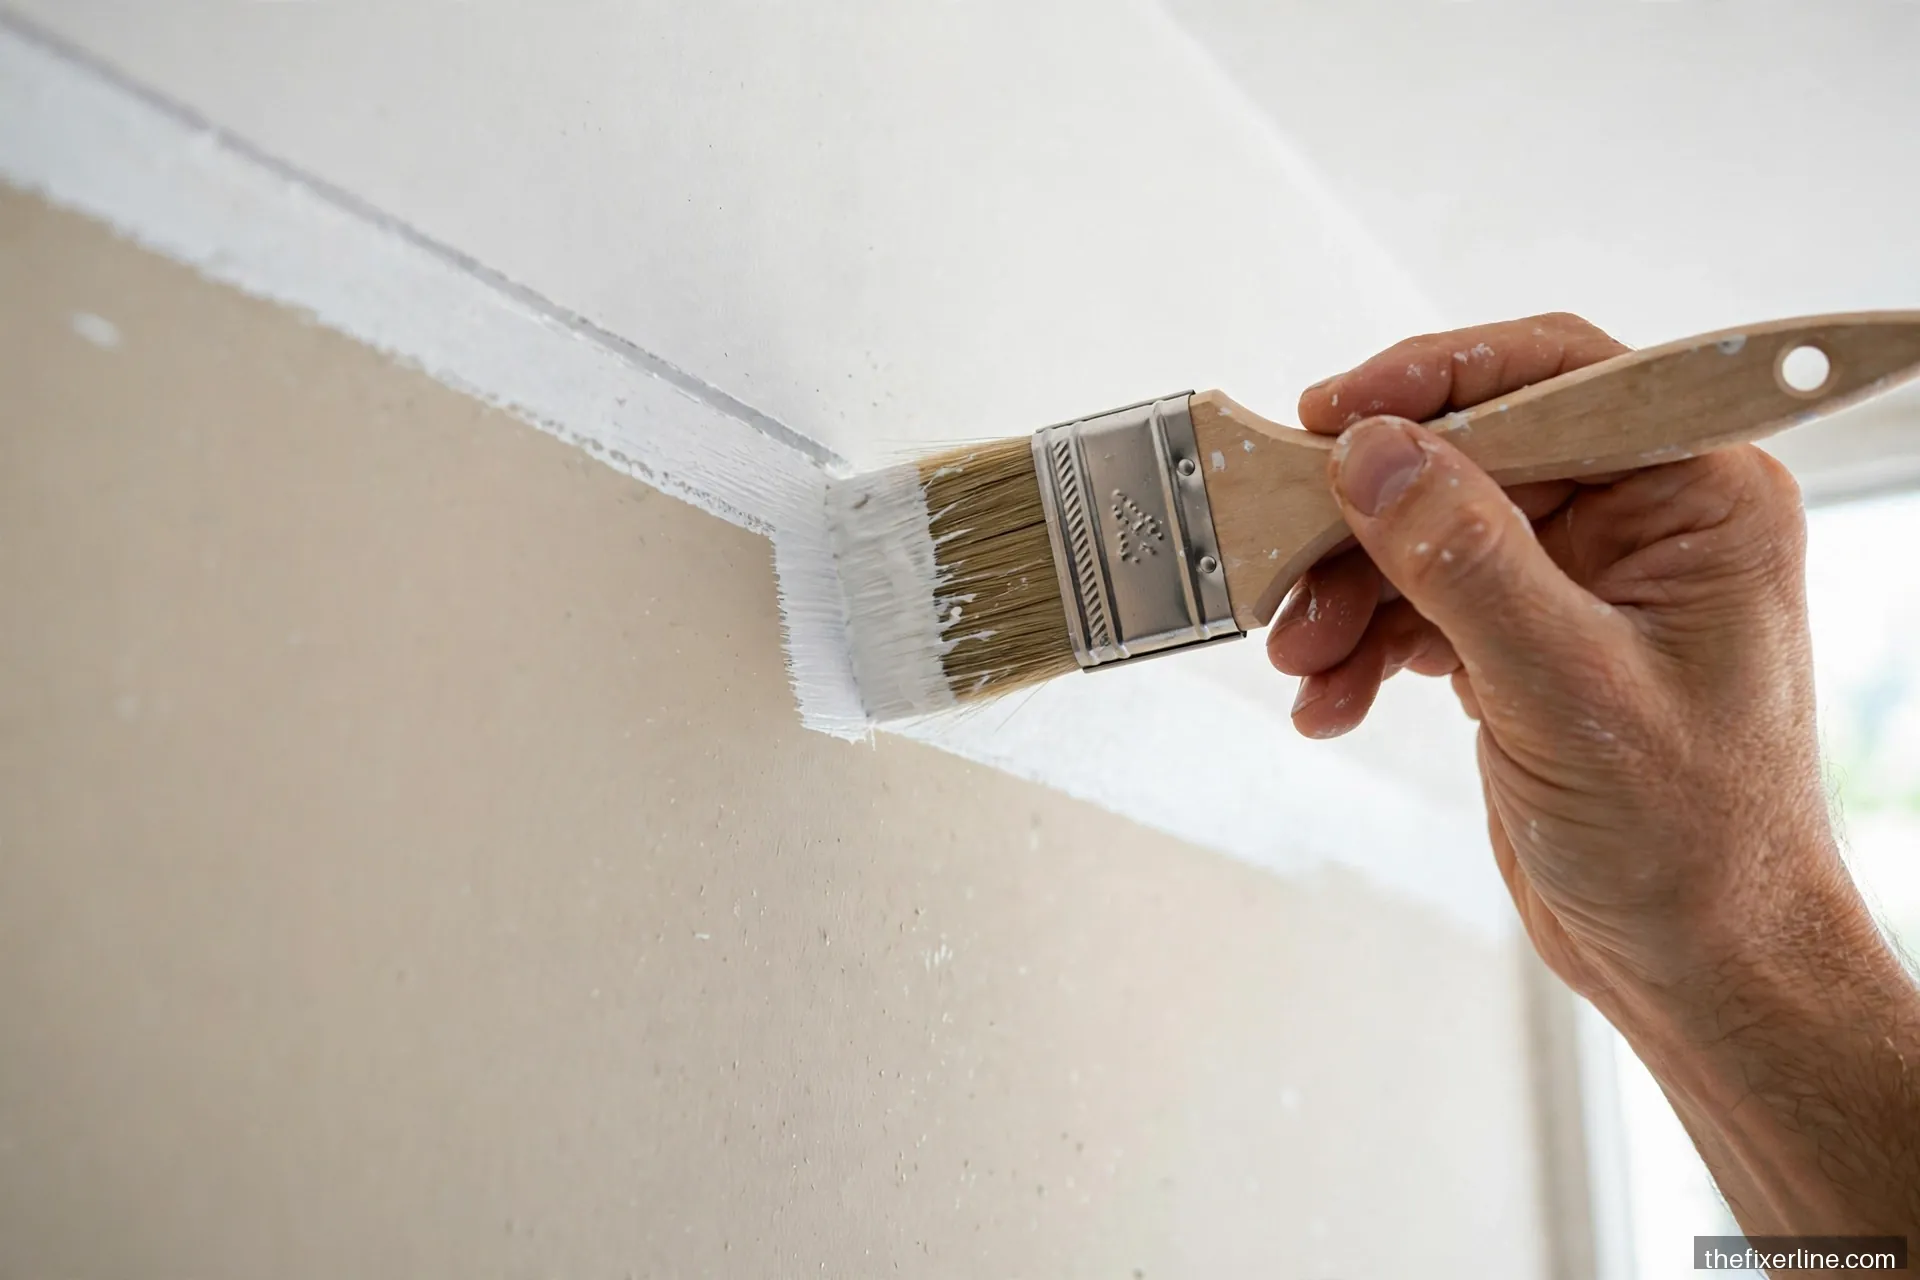
“Cutting in” means painting the edges — where walls meet ceiling, trim, and corners — with a brush before rolling. Use a quality 2.5-inch angled sash brush, load it moderately (dip a third of the bristle length, tap off excess — never wipe on the rim), and paint a 2–3 inch band along each edge with smooth, confident strokes. Work in sections: cut in one wall, then roll it while the cut-in is still wet — this “wet edge” blending is what prevents visible lines between brushed and rolled areas.
Technique: rolling
Use the right roller cover: 3/8-inch nap for smooth walls, 1/2-inch for light texture. Load the roller fully by rolling it in the tray’s deep end, then distribute on the ribbed slope — the cover should be saturated but not dripping. Roll in a “W” or “M” pattern about 3×3 feet, then fill it in with parallel strokes, always finishing with light vertical strokes in one direction (“laying off”). Maintain a wet edge: overlap each new section into the still-wet previous one. Do not press hard — pressure squeezes paint out unevenly and creates texture; let the roller’s weight do the work.
Between coats, wait the full recoat time on the can (not “dry to touch” — recoat time). Rushing the second coat lifts the first and creates a mess that no amount of rolling fixes.
Ceilings and trim order
Paint top to bottom: ceiling first, then walls, then trim. Ceiling paint (flat, spatter-resistant formula) goes on with the same rolling technique — work across the room’s narrow dimension in sections, maintaining a wet edge. For trim, use a high-quality angled brush and a semi-gloss enamel; apply thin coats (enamel levels itself if you do not overwork it) and resist the urge to go back over drying paint — that is how brush marks happen. Two thin trim coats beat one thick one every time.
Mistakes to avoid
- Skipping prep — the number one cause of disappointing results, full stop.
- Cheap brushes and rollers — they shed bristles and leave lint in your finish. A quality brush pays for itself in the first hour.
- Painting in direct sun or high humidity — paint skins over before leveling. Paint in mild, dry conditions when possible.
- Overworking the paint — rolling back over partially dried paint creates texture and lap marks. Apply it and leave it.
- Not boxing paint — when using multiple gallons, mix them together in a bucket first (“boxing”) to eliminate batch-to-batch color variation.
For fixing the mistakes that slip through anyway, see our companion guide to fixing paint mistakes.
Cleanup and storage
For latex paint: wash brushes and rollers with warm water and soap until the water runs clear, spin or shake out excess water, and store brushes hanging or flat (never on their bristles). For oil-based paint: clean with mineral spirits per the can’s directions, in a ventilated area away from ignition sources. Seal cans tightly (tap the lid with a rubber mallet, not a hammer — sparks), label each with the room and date, and store indoors where they will not freeze. Leftover paint is gold for future touch-ups — but only if you can find it and it is still good; paint stored properly lasts years.
A note on lead paint safety
Homes built before 1978 may contain lead-based paint. If your home is in that age range, do not sand or scrape without testing first — lead dust is a serious health hazard, especially for children and pregnant women. Lead test kits are available at hardware stores and give quick results; for larger projects, federal rules require lead-safe certified renovators. When in doubt, test. This is one area where caution is never wasted.
Accent walls and two-tone techniques
Once you have the basics down, an accent wall is the highest-impact upgrade for the least extra work. Choose the wall that is the natural focal point (behind the bed, behind the sofa, the fireplace wall) and paint it a deeper or contrasting tone while the other walls stay neutral. The technique is identical — the planning is what matters: test large swatches (at least 2×2 feet) and live with them for two days, viewing in morning and evening light, before committing. Colors shift dramatically under different lighting, and the small swatch lies. For two-tone walls (chair rail split, horizontal color blocking), measure and level your dividing line carefully, tape it crisply, and paint the lighter color first — any bleed of light over dark is easier to cover than the reverse.
Should you spray instead of roll?
Paint sprayers are tempting — fast, even coverage — but they come with real trade-offs for interior rooms. The masking requirement multiplies: everything (floors, windows, outlets, trim, adjacent rooms) must be sealed against fine overspray mist that drifts astonishingly far. For a single room, the masking time usually exceeds any rolling time saved. Sprayers earn their keep on exteriors, fences, and new construction with no finishes installed yet. If you do spray indoors, practice on cardboard first, keep the gun moving at a consistent speed and distance, and wear a proper respirator — atomized paint is far more hazardous to breathe than brush or roller vapors. For most room repaints, a quality roller is faster all-in and far more forgiving.
Frequently asked questions
Do I really need two coats?
For color changes, yes — virtually always. For same-color refreshes over sound paint, one careful coat can suffice, but two thin coats still look richer and last longer. “One-coat coverage” claims assume ideal conditions that rarely exist in real rooms.
What order do I paint a room in?
Ceiling, then walls, then trim — top to bottom, so drips land on surfaces you have not finished yet. Within walls: cut in one wall, roll it, move to the next. Do all the cutting-in first only if you are fast enough to keep wet edges — otherwise work wall by wall.
When do I remove painter’s tape?
When the paint is dry to the touch but not fully cured — typically an hour or two after the final coat. Pull slowly at a 45-degree angle back on itself. Waiting days lets the paint bond to the tape and tear on removal; removing while wet lets paint bleed under the edge.
How do I avoid roller marks?
Quality roller cover, adequate paint load, wet-edge technique, and laying off in one direction. If marks persist, you are likely pressing too hard or rolling over partially dried paint. Our paint mistake fixes cover rescue techniques for marks that already happened.
What to read next
Fix any slip-ups with how to fix paint mistakes, and seal the trim lines perfectly with caulking 101.
Safety note: This article is general information, not professional contractor advice. Test for lead paint in pre-1978 homes before sanding, ventilate well, and keep oil-based products away from ignition sources.