Nothing makes a kitchen look tired faster than cabinet doors that hang crooked — gaps that wander, doors that overlap, one door sitting higher than its neighbor. Before you assume the cabinets are failing, know this: nearly all modern cabinets use European-style concealed hinges that adjust in three directions with a simple screwdriver. Most “broken” cabinet doors are just misadjusted.
This guide covers identifying your hinge type, the three adjustment directions, fixing common alignment problems, and what to do when a hinge is genuinely broken or the screw holes are stripped.
Identify your hinge type
Open a cabinet door and look at the hinge. European (concealed) hinges — the modern standard — are mostly hidden inside, with a cup set into a round hole bored in the door and an arm connecting to a mounting plate on the cabinet frame. They have visible adjustment screws and are the focus of this guide. Face-frame hinges (traditional American style) mount visibly on the cabinet face frame; some adjust slightly, many do not. Butt hinges on older cabinets are simple leaves screwed to door and frame — no adjustment, but easy to shim or replace.
If you have European hinges, you are in luck: everything below applies. If you have face-frame or butt hinges with no adjustment, skip to the troubleshooting section for the shim-and-replace approach.
The three adjustment directions
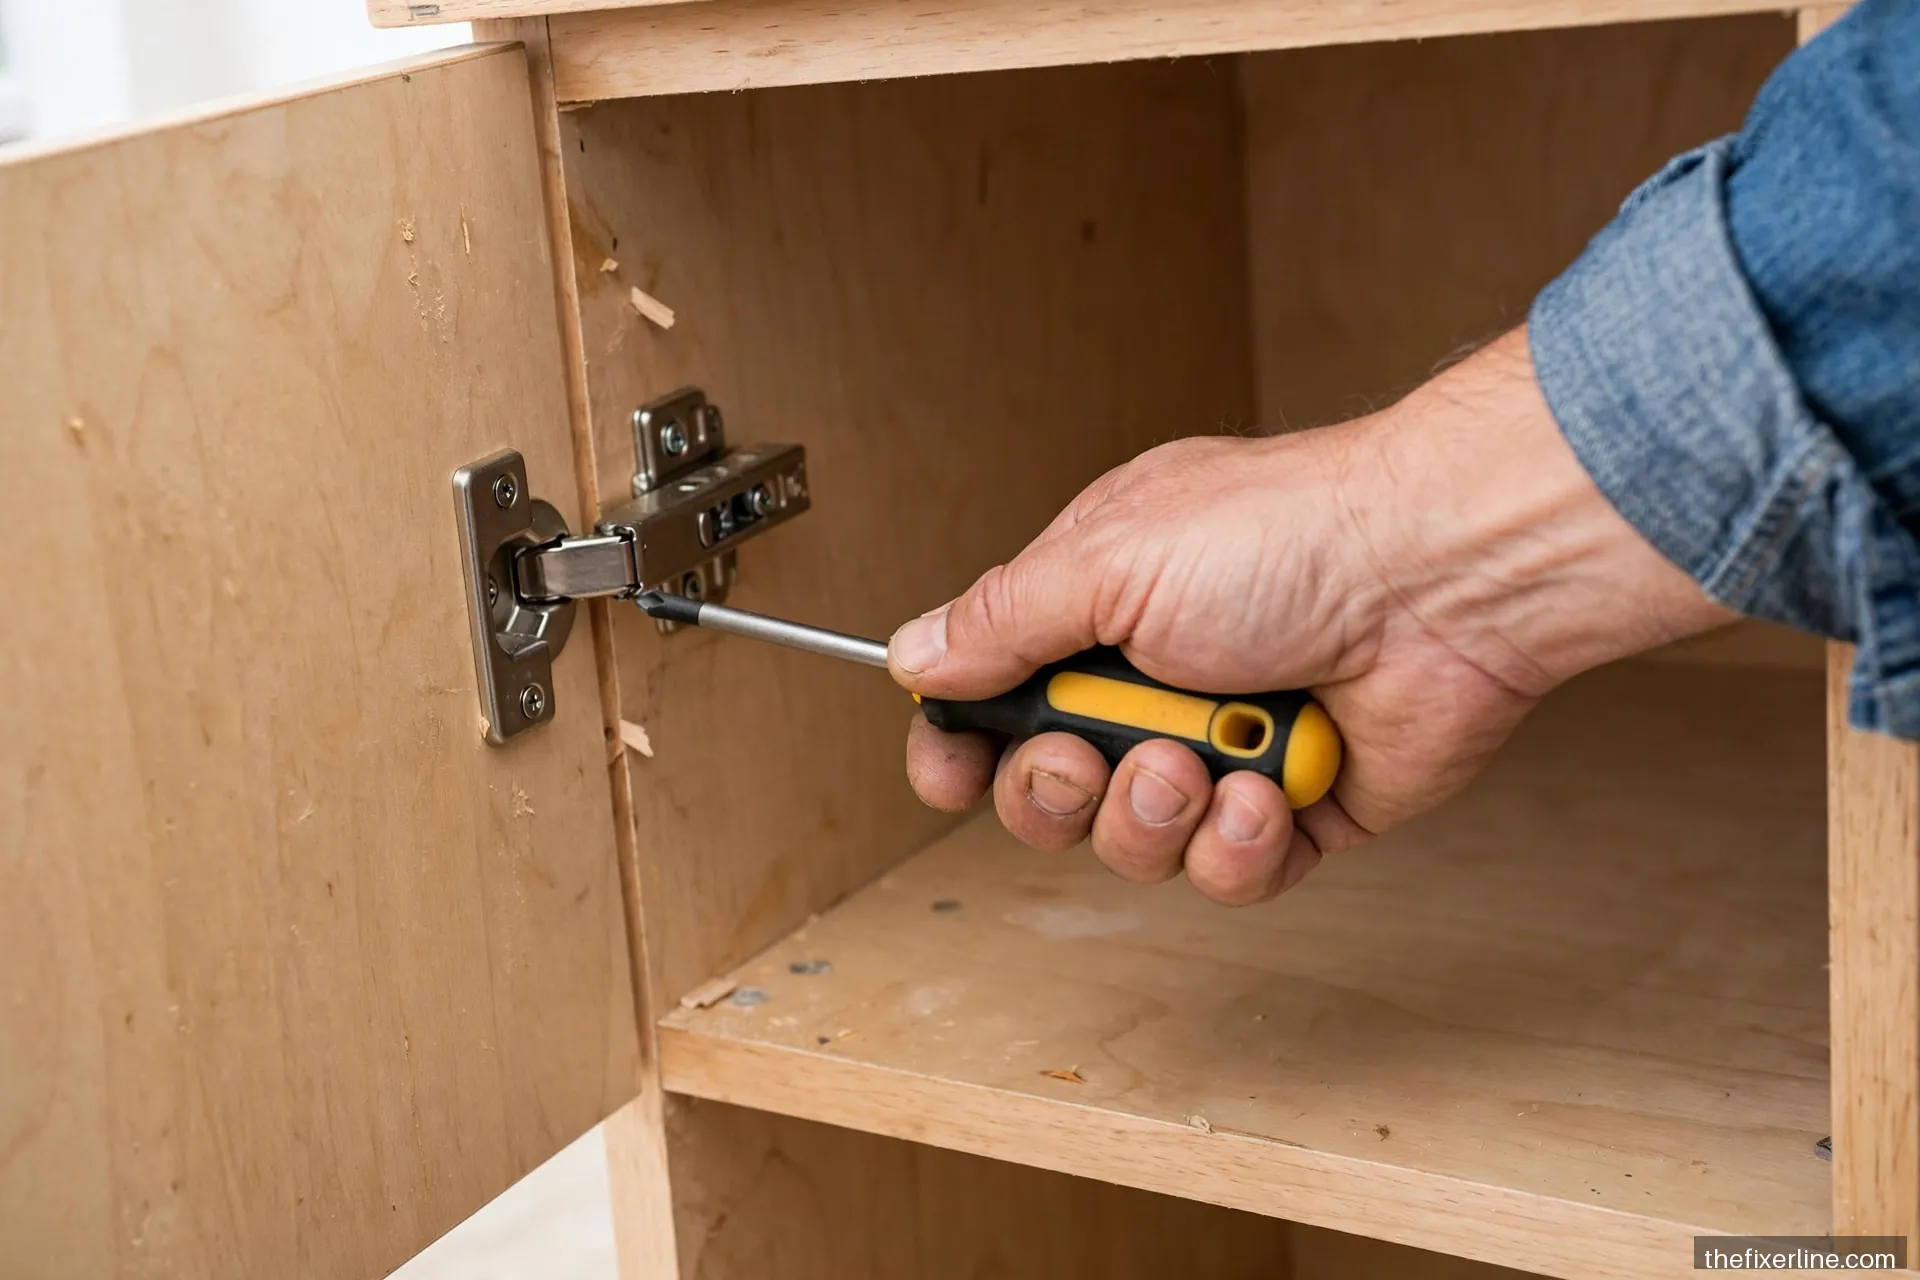
A European hinge has two or three screws that each control one direction of movement. Layouts vary slightly by manufacturer, but the pattern is consistent:
- Side-to-side (left/right): the screw closest to the door (often on the hinge arm) moves the door laterally. This fixes gaps between double doors and doors that overlap the frame unevenly.
- Up/down (height): screws on the mounting plate (the part attached to the cabinet) loosen to let the whole hinge slide vertically. This fixes one door sitting higher than its neighbor.
- In/out (depth): the screw farthest from the door moves the door toward or away from the cabinet. This fixes doors that stick out past the frame or sit too deep, and doors that will not stay closed because they are sprung outward.
Adjust in small increments — a quarter turn at a time — and check the result before continuing. The adjustments interact: fixing the height may slightly change the side gap, so work iteratively and expect two or three passes.
Fixing the common problems
Doors with uneven gaps between them
The classic double-door problem: the gap is wide at the top and tight at the bottom (or vice versa). Adjust the side-to-side screws: on the door with the wide-top gap, move its top hinge outward (away from center) and its bottom hinge inward, or vice versa — small moves, checking the full height of the gap each time. You are rotating the door in its plane until the gap runs parallel.
One door higher than the other
Loosen the mounting-plate screws on the low door’s hinges just enough to slide, lift the door to match its neighbor (a strip of painter’s tape as a reference line helps), and retighten. Support the door’s weight while the screws are loose — an extra pair of hands makes this dramatically easier.
Door will not stay closed
First check the depth adjustment — a door sprung outward past the frame will not catch. If depth is correct, the problem is usually the catch or the hinge’s built-in soft-close wearing out. Many European hinges have a small on/off switch or adjustment for the soft-close mechanism; if yours has failed, replacement hinges of the same type clip into the existing mounting plates with no new holes — the easiest “replacement” in all of DIY.
Door rubs the frame or a neighbor
Find the rub point (look for shiny worn spots or use the tape method), then adjust away from it in the relevant direction. If adjustment range is exhausted, the hinge cup hole may have been bored slightly off — a replacement hinge in the same cup usually seats a fraction differently and solves it.
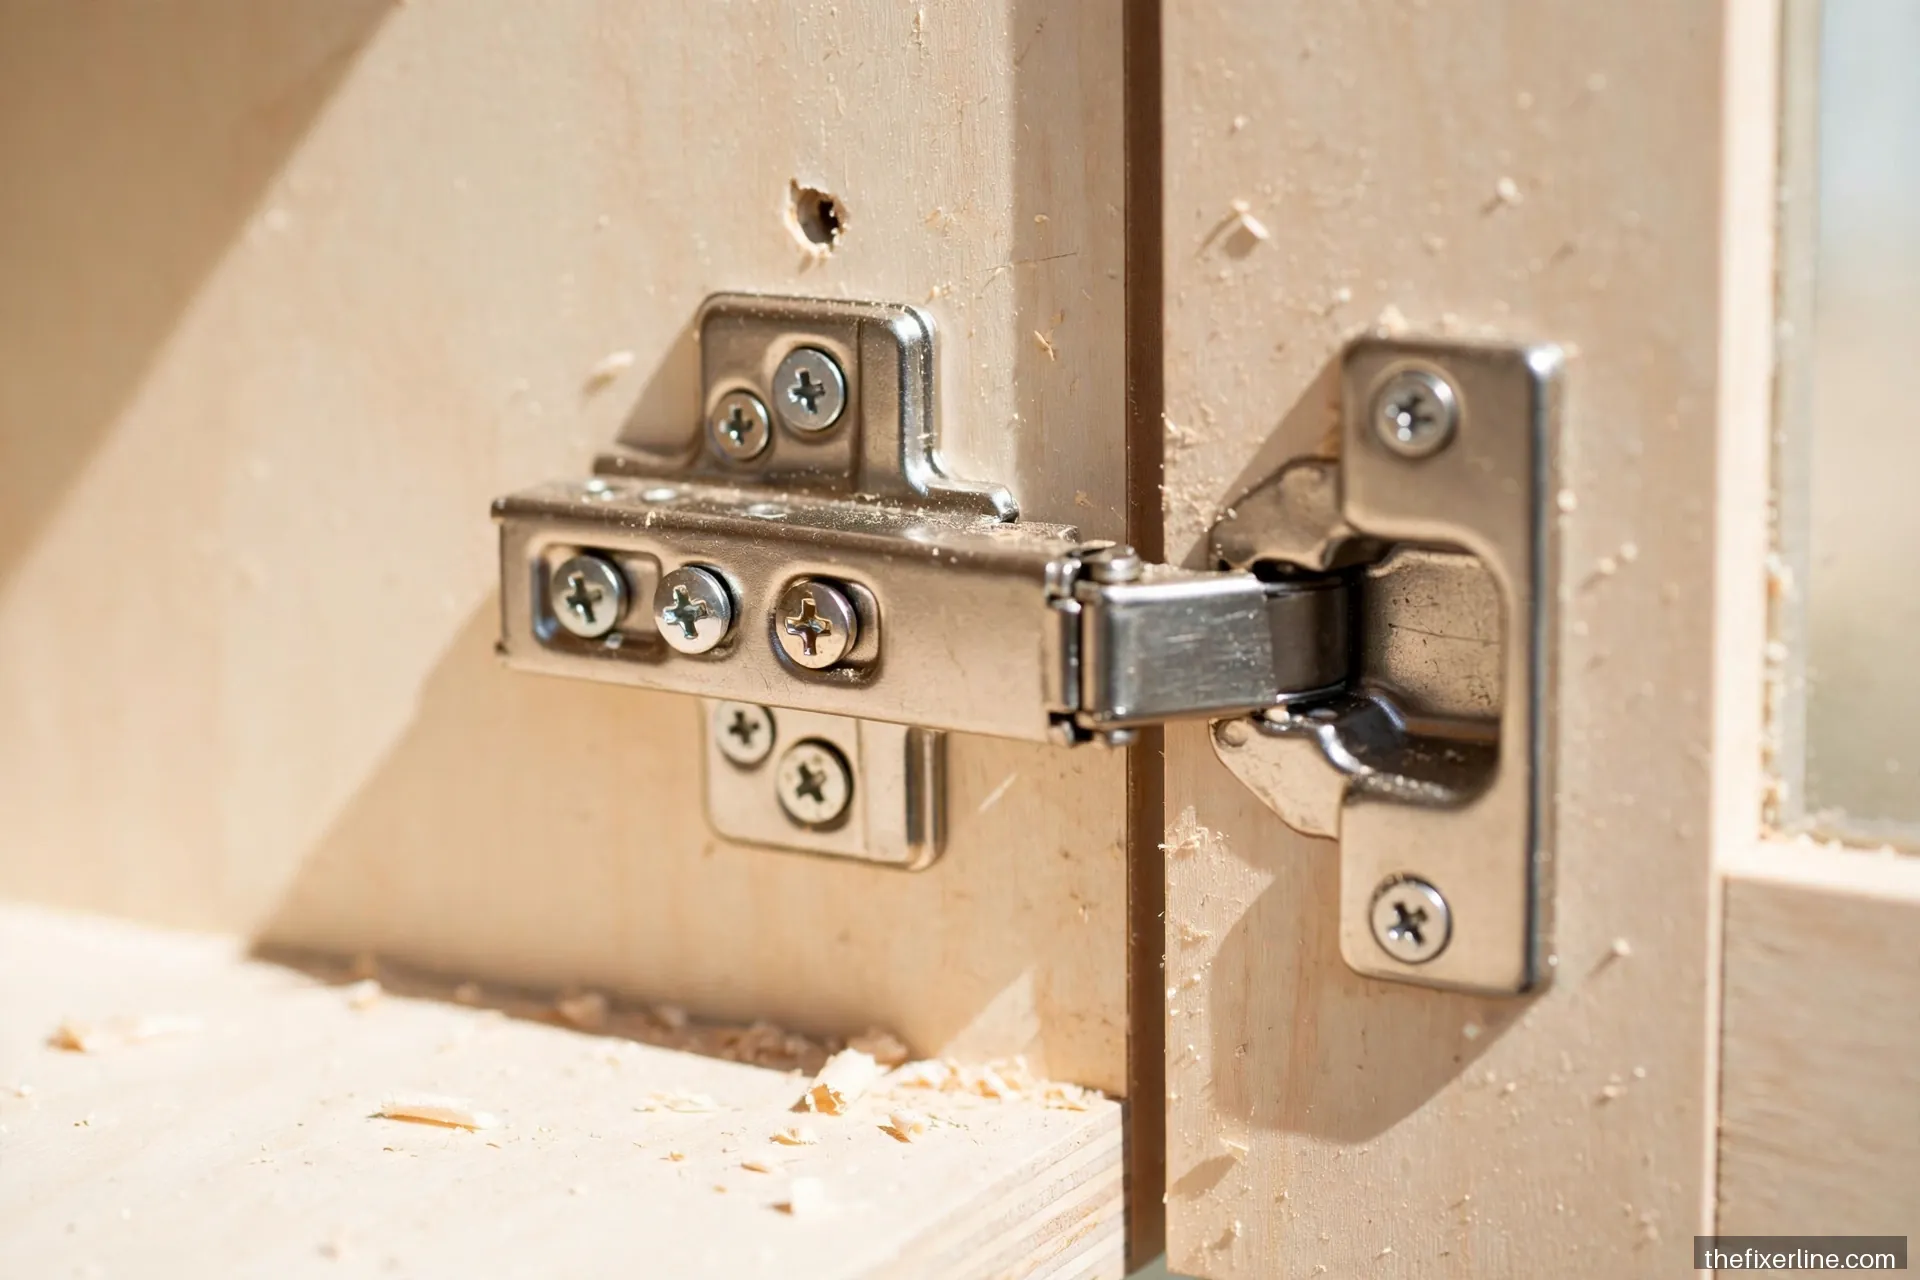
Stripped screw holes and broken hinges
Cabinet hinge screws strip their holes over time, especially in particleboard cabinet boxes. The fix depends on severity:
- Slightly stripped: remove the screw, fill the hole with wood glue and toothpicks (or wooden matchsticks with heads removed), let dry, trim flush, and re-drive the screw.
- Badly stripped or crumbled particleboard: use a dedicated screw-hole repair kit (a two-part filler that hardens to hold threads) or relocate the mounting plate slightly and drill fresh pilot holes.
- Broken hinge: take the old hinge to the store. European hinges look similar but vary in cup size (usually 35mm), opening angle, and overlay — matching matters. The replacement clips or screws into the existing cup hole and mounting plate position.
For doors that have pulled completely out, taking a chunk of particleboard with them, a repair plate (a metal plate that bridges the damaged area and gives the hinge fresh metal to screw into) is the professional solution — inexpensive and far stronger than filler alone for high-stress repairs.
Adding soft-close to old cabinets
If your cabinets slam, you have options short of replacing hinges. Clip-on soft-close adapters attach to many existing European hinges and add the slow-close function in seconds per door. Stick-on bumper pads (small clear silicone dots) cushion the close and cost almost nothing — surprisingly effective for the price. Full hinge replacement with integrated soft-close is the premium option and, as noted, usually requires no new holes. As an illustrative example, a full kitchen’s worth of clip-on adapters typically costs in the tens of dollars — check current prices at your local store.
Cleaning and maintenance
Kitchen hinges live in a film of cooking grease. Once a year, wipe hinges with a degreasing cleaner and work each door through its range — you will feel gritty hinges smooth out immediately. A drop of silicone lubricant (not oil, which attracts dust) on pivot points keeps them quiet. Tighten mounting screws annually; the vibration of daily use loosens them gradually, and catching it early prevents the stripped-hole repairs above. This two-minute annual check belongs on every homeowner’s maintenance list — see our 2026 home maintenance calendar for a full seasonal schedule.
The 30-minute full-kitchen cabinet tune-up
Once you understand the three adjustments, tuning an entire kitchen is a satisfying half-hour project. Work systematically: start at one end and move down the run, adjusting each door’s height first (so all doors share a level line), then side gaps (so gaps run parallel), then depth (so faces sit flush). Keep a step stool handy for uppers and a knee pad for lowers — you will thank yourself. Tighten every mounting screw as you go, wipe the hinge grease points, and stick bumper pads on any doors that lack them. The cumulative effect is remarkable: a kitchen that looked tired and mismatched suddenly reads as crisp and intentional, with zero new materials beyond a few cents of bumpers. Do this the week before listing a house for sale or hosting a big gathering — it is among the highest visual-return half-hours in home maintenance.
Tricky cases: corner cabinets and pull-outs
Corner cabinets with bi-fold or lazy Susan doors have more complex hinge arrangements — often four or more hinges per door set — and the adjustment logic compounds: change one hinge and three others react. Work even more incrementally here, and photograph the starting positions so you can retreat if you make things worse. Pull-out trash and pantry units add weight to the equation: their hinges and slides carry far more load than a standard door, so check the mounting screws into the cabinet box (not just the hinge adjustments) — loose box screws let the whole unit sag, which no hinge adjustment can fix. If a pull-out binds, the usual culprit is an overloaded bin or a slide that needs cleaning and a drop of silicone lubricant, not the door alignment at all.
Frequently asked questions
How do I know which screw does what on my hinge?
Turn one screw a half turn and watch which way the door moves — there is no substitute for this empirical test, since manufacturers vary. Mark the screws with a paint pen once you have identified them (S for side, H for height, D for depth) so next time is instant. If your hinge has only two visible screws, it likely combines functions; the empirical test still works.
Should I replace all hinges or just the broken one?
Hinges from the same production run age together. If one has failed mechanically (not just misadjusted), inspect the others — replace any that feel gritty, loose, or weak. Mismatched hinges can have slightly different geometry, so replacing a full door’s set (usually two hinges) keeps alignment consistent.
What do “overlay” and “inset” mean when buying hinges?
Overlay describes how the door sits on the cabinet frame: full overlay doors cover the frame completely, half overlay covers half (for shared dividers), inset doors sit flush inside the frame. Buy the same type you have — the hinge geometry differs. Take the old hinge (or a clear photo of it plus the door/frame relationship) to the store.
Can I paint cabinet hinges?
You can, but moving parts and paint are enemies — paint in the pivot will make the hinge stiff and flaky within months. If you want a different finish, buy hinges in that finish; they are inexpensive enough that painting is false economy. For the doors themselves, our furniture refinishing guide covers the prep principles that apply to cabinet doors too.
What to read next
Cabinets aligned? Apply the same diagnostic thinking to full-size doors that stick or won’t latch, and keep the kitchen functional with garbage disposal troubleshooting.
Safety note: This article is general information, not professional contractor advice. Support heavy doors (especially wall-oven and pantry doors) while hinges are loose, and call a professional if cabinet boxes are structurally failing rather than just misaligned.