A torn window screen is one of those repairs that feels like it should be complicated — and is delightfully simple. Rescreening a standard window screen takes about 20 minutes, requires two inexpensive tools, and costs a fraction of a replacement screen. If you can roll pizza dough, you can roll screen spline.
This guide covers removing the old screen, choosing mesh and spline, the rolling technique that produces a drum-tight result, and how to handle the variations: sliding screens, patio door screens, and screens with bent frames.
Assess: rescreen or replace the frame?
Start by removing the screen from the window — most lift out, tilt in, or release with small tabs or plungers on the sides. Lay it flat and inspect the aluminum frame. If the frame is straight and the corners are tight, rescreen it. If the frame is bent, kinked, or the corner keys are cracked, rescreening will not fix it — buy a replacement frame kit (sold in standard sizes, cut to fit) or have a hardware store make one to your measurements. A bent frame never holds a tight screen, and fighting it wastes an afternoon.
Tools and materials
- Replacement screen mesh — fiberglass is the standard (easy to work with, inexpensive); aluminum is tougher but harder to install; pet-resistant and solar mesh are specialty options.
- Spline — the rubber cord that wedges the mesh into the frame’s groove. Match the diameter to your old spline (bring a piece to the store).
- Spline roller — the two-wheeled tool (convex wheel seats the mesh, concave wheel seats the spline). A few dollars and non-negotiable for good results.
- Utility knife with a fresh blade, scissors, and a flathead screwdriver or awl for prying out old spline.
- Tape measure.
Buy mesh slightly larger than the frame on all sides — you trim the excess after rolling. As an illustrative example, a roll of fiberglass mesh large enough for several windows typically costs in the low tens of dollars — prices vary by store and mesh type.
Step 1: Remove the old mesh and spline
Lay the frame on a flat work surface (a table or the floor — flatness matters for a tight result). Pry up one end of the old spline with the screwdriver and pull it out of the groove all the way around; the old mesh lifts away with it. Clean the groove thoroughly — old spline fragments, dirt, and spider debris in the groove prevent the new spline from seating. A quick pass with a damp cloth, then dry completely.
Step 2: Choose your mesh and spline
Fiberglass mesh suits 95% of rescreening jobs: it is flexible, forgiving, and will not dent or crease. Aluminum mesh is stronger and holds its shape but kinks permanently if you crease it during installation — better for high-traffic areas if you have done this before. Pet-resistant mesh (thicker vinyl-coated) is worth it for screens at pet height. Solar/insect mesh in darker weaves reduces glare and visibility from outside.
For spline: diameter matters more than material. Too thin and the mesh pulls out; too thick and you cannot seat it without distorting the frame. Bring the old spline to match, or test-fit in the store if they have a sample groove. When in doubt between two sizes, the slightly larger one usually wins — you can always press harder, but thin spline never grips.
Step 3: Roll the new screen (the technique)
- Lay the mesh over the frame with 1–2 inches of overhang on all sides. Align the weave square to the frame — a crooked start means a crooked screen.
- Start on a long side. Using the convex wheel of the spline roller, press the mesh into the groove along one long side — just seating the mesh, no spline yet. This anchors your alignment.
- Roll the spline into the opposite long side. Lay the spline over the groove and roll it in with the concave wheel, pressing firmly. The mesh stretches taut between the two seated sides. Keep the mesh aligned — if it starts to bow, back up and re-seat.
- Do the short sides. Roll spline into one short side, then the other, working from the center outward to push wrinkles toward the corners.
- Finish the first side. Go back and roll spline over the first long side’s mesh-only seating. All four sides are now splined.
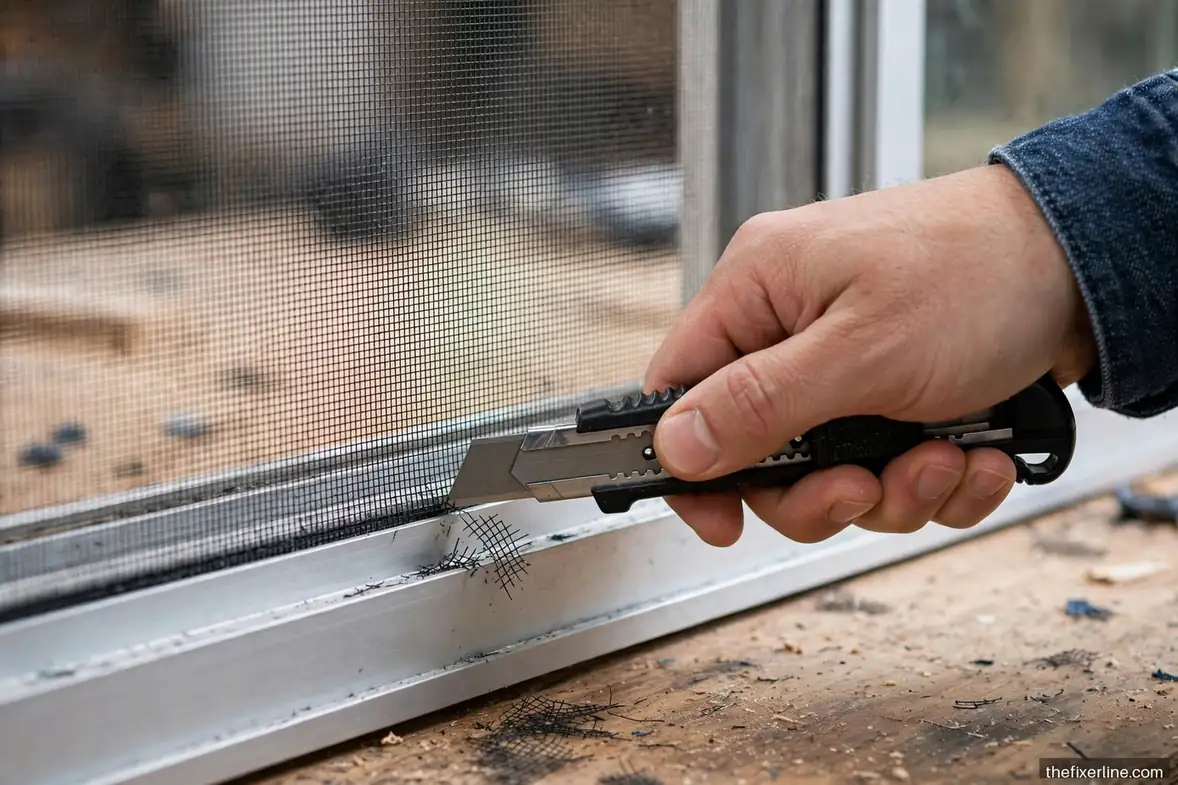
- Trim the excess. Run the utility knife along the outside of the spline groove, blade angled outward, cutting the overhanging mesh. One smooth pass per side — sawing frays the mesh edge.
The screen should be drum-tight with no wrinkles or sagging. Small wrinkles near corners are normal on your first attempt and usually invisible once installed; large wrinkles mean the mesh shifted during rolling — pull the spline on that side and redo it. It is a five-minute redo, not a disaster.

Variations: sliders, patio doors, and small screens
Sliding window screens rescreen identically — the frame is just shaped differently. Patio door screens are the same technique on a bigger frame; the challenge is workspace (a garage floor works) and keeping the large mesh aligned — an extra pair of hands helps enormously. Use pet-resistant mesh for the lower panel if you have dogs. Small screens (bathroom windows, vents) are actually harder than big ones — less room to work the roller. Take your time and use short roller strokes.
Retractable and specialty screens (the kind that roll into a housing) are generally not DIY-rescreenable — the spring mechanisms are finicky and the mesh is proprietary. For those, contact the manufacturer or a screen repair shop.
Maintaining your screens
Screens last dramatically longer with minimal care. Once a year, brush both sides with a soft brush or vacuum with the upholstery attachment — accumulated dust and pollen degrade the mesh and block airflow. Rinse with a gentle hose spray (not pressure-washer force, which stretches fiberglass mesh). Inspect the spline annually; sun-baked spline shrinks and hardens, and replacing just the spline (without new mesh) takes ten minutes and extends the screen’s life by years. Store storm-window screens flat, never leaning — leaning warps aluminum frames over a season.
Torn by a pet or a storm? A small tear can be patched with a screen repair patch kit (adhesive mesh squares) as a stopgap, but a proper rescreen looks and lasts better. And while you have the screens out, it is the perfect time to clean the window tracks and check the weatherstripping — see our weatherstripping guide for the full draft-sealing picture.
Building a replacement frame from a kit
When the old frame is beyond saving, a screen frame kit is the answer — and it is easier than it looks. Kits include aluminum frame stock (cut to length with a hacksaw), plastic or metal corner keys, spline, and mesh. Measure the window opening carefully (measure twice — screen frames must fit precisely), cut the four sides to length, tap the corners together with the keys, and rescreen as described above. The trickiest part is getting the frame square: assemble it on a flat surface and check the diagonals — equal diagonals mean square. Most kits include a small tension spring or clips that hold the finished screen in the window track. Your first kit-built frame takes about 45 minutes; the second takes 20. Keep the leftover frame stock — it is handy for future small screens.
Patio screen door hardware: rollers and handles
Patio screen doors fail at the hardware as often as the mesh. If your screen door drags, jumps the track, or will not slide, check the rollers first: most have adjustable rollers at the bottom (a screw raises or lowers them) that wear out or seize. Replacement rollers are inexpensive and model-specific — take the old one to match. While the door is off for rescreening, clean the track thoroughly (years of grit live in there), lubricate with silicone spray (not oil, which collects dirt), and check the handle latch alignment. A screen door that slides like new after a rescreen plus new rollers feels like a genuine upgrade, and the whole job still costs less than a service call.
Frequently asked questions
Does it matter which side of the mesh faces out?
For standard fiberglass mesh, no — it is identical on both sides. For solar mesh or one-way-visibility mesh, yes: follow the manufacturer’s marking, as the coating is directional. When in doubt, check the packaging before you cut.
How do I measure spline size?
Bring a piece of the old spline to the store and match it against the sizing holes on the spline package or a gauge at the display. If the old spline is too degraded to identify, measure the groove width with calipers and choose spline slightly larger than the groove — the spline compresses as it seats.
My screen has wrinkles. Can I fix it without starting over?
Small corner wrinkles: often acceptable, and they relax somewhat in sun and heat. Large wrinkles or a visibly bowed screen: pull the spline from the worst side and re-roll that side with better tension — a targeted redo, not a full restart. If the whole screen is loose, the spline is probably too thin; replace it with the next size up.
How long does a rescreened window last?
Fiberglass mesh typically lasts 10–15 years in normal conditions; sun-exposed south-facing screens degrade faster. Aluminum lasts longer but dents. The spline usually fails before the mesh — annual inspection and timely spline replacement are the real longevity secret. For related window maintenance, our door repair guide covers the same diagnostic approach applied to sticking windows.
What to read next
Screens fresh? Keep the air flowing efficiently with weatherstripping doors and windows, and tackle the tracks and trim with caulking 101.
Safety note: This article is general information, not professional contractor advice. Use a stable ladder for upper-floor screens (never lean out of windows), cut away from your body, and call a pro for specialty retractable screen systems.